Sunday, December 12, 2010

Morning Glory Muffins


Why hello there! I am back. :-D I apparently took a pretty long hiatus from blogging. Oops! It wasn't intentional; I recently moved, so that took up a LOT of my time and I haven't even had a few seconds to think about blogging! That doesn't mean I haven't been baking though. ;-) 

This recipe for morning glory muffins was the last baked good I made in my previous home. Maybe my next post will be the first item I made in my new home! I really liked these muffins. They are a Cooking Light recipe (always a plus), and they're hearty at the same time too. The recipe I generally followed is here, but I made some additions and changes (would the Barbershop have it any other way?!). Here's what I altered:

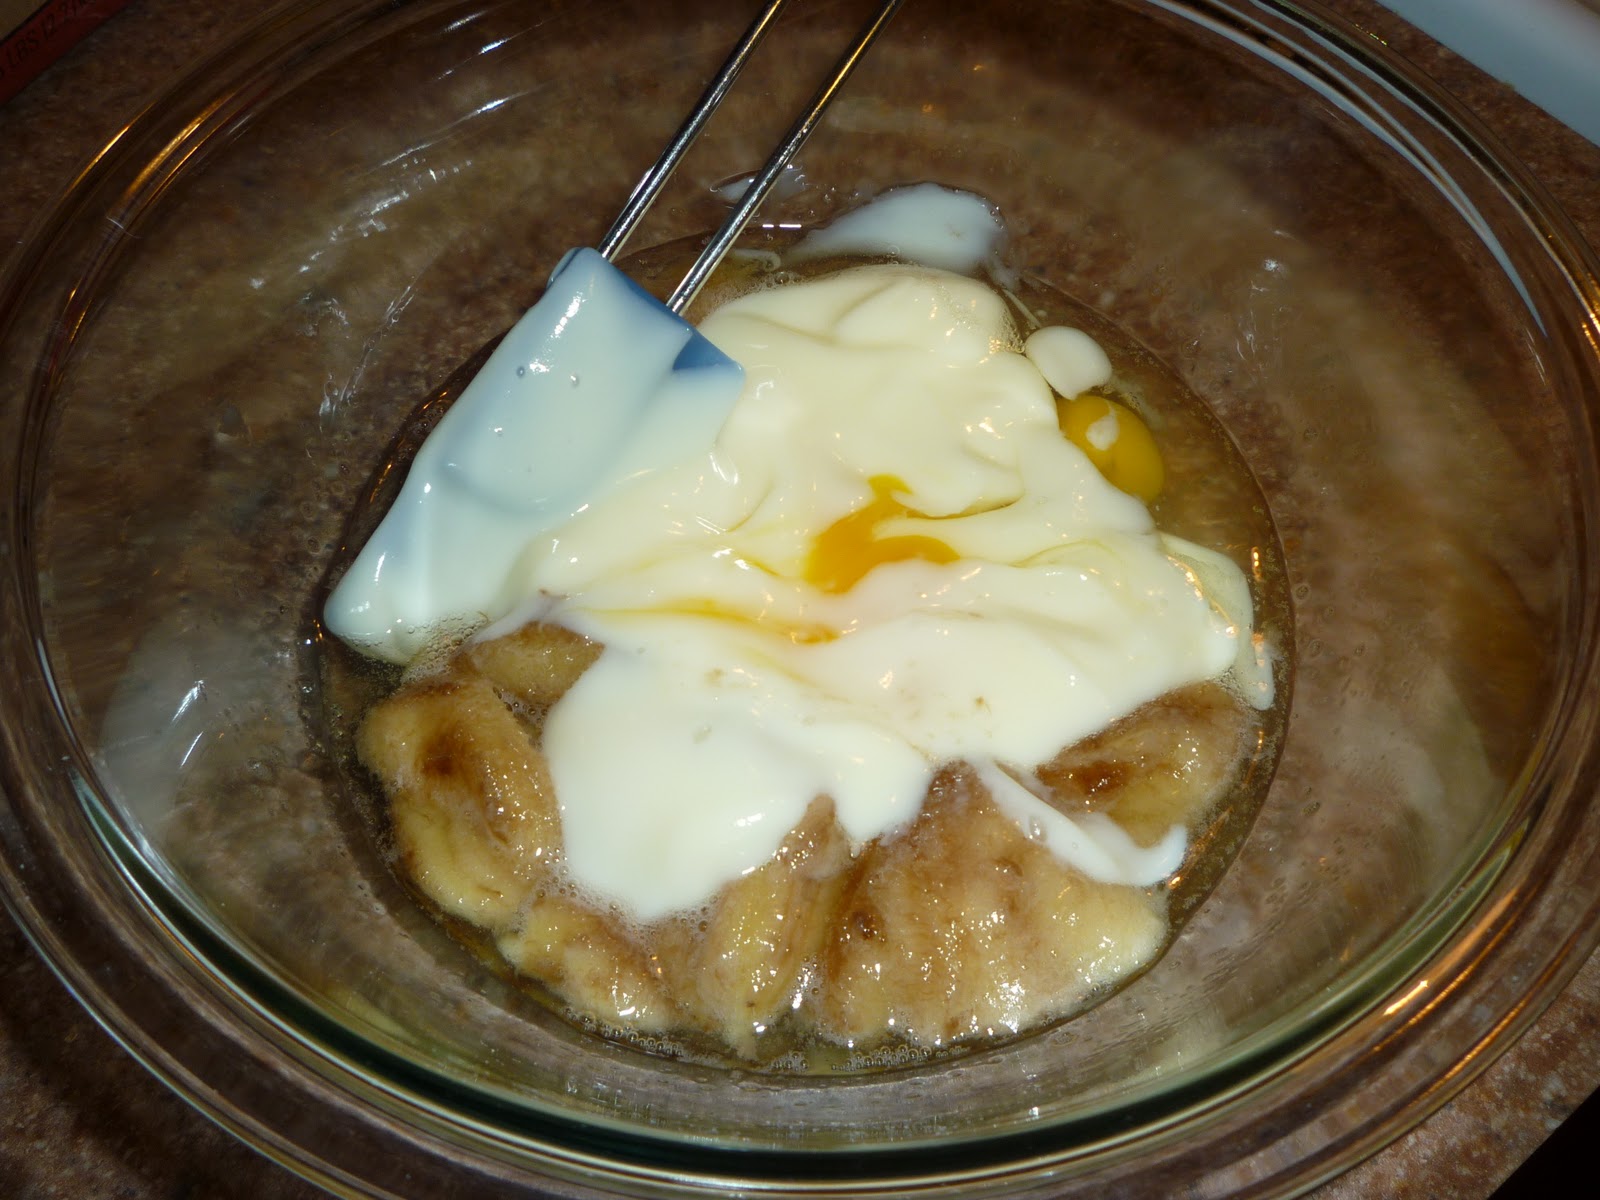
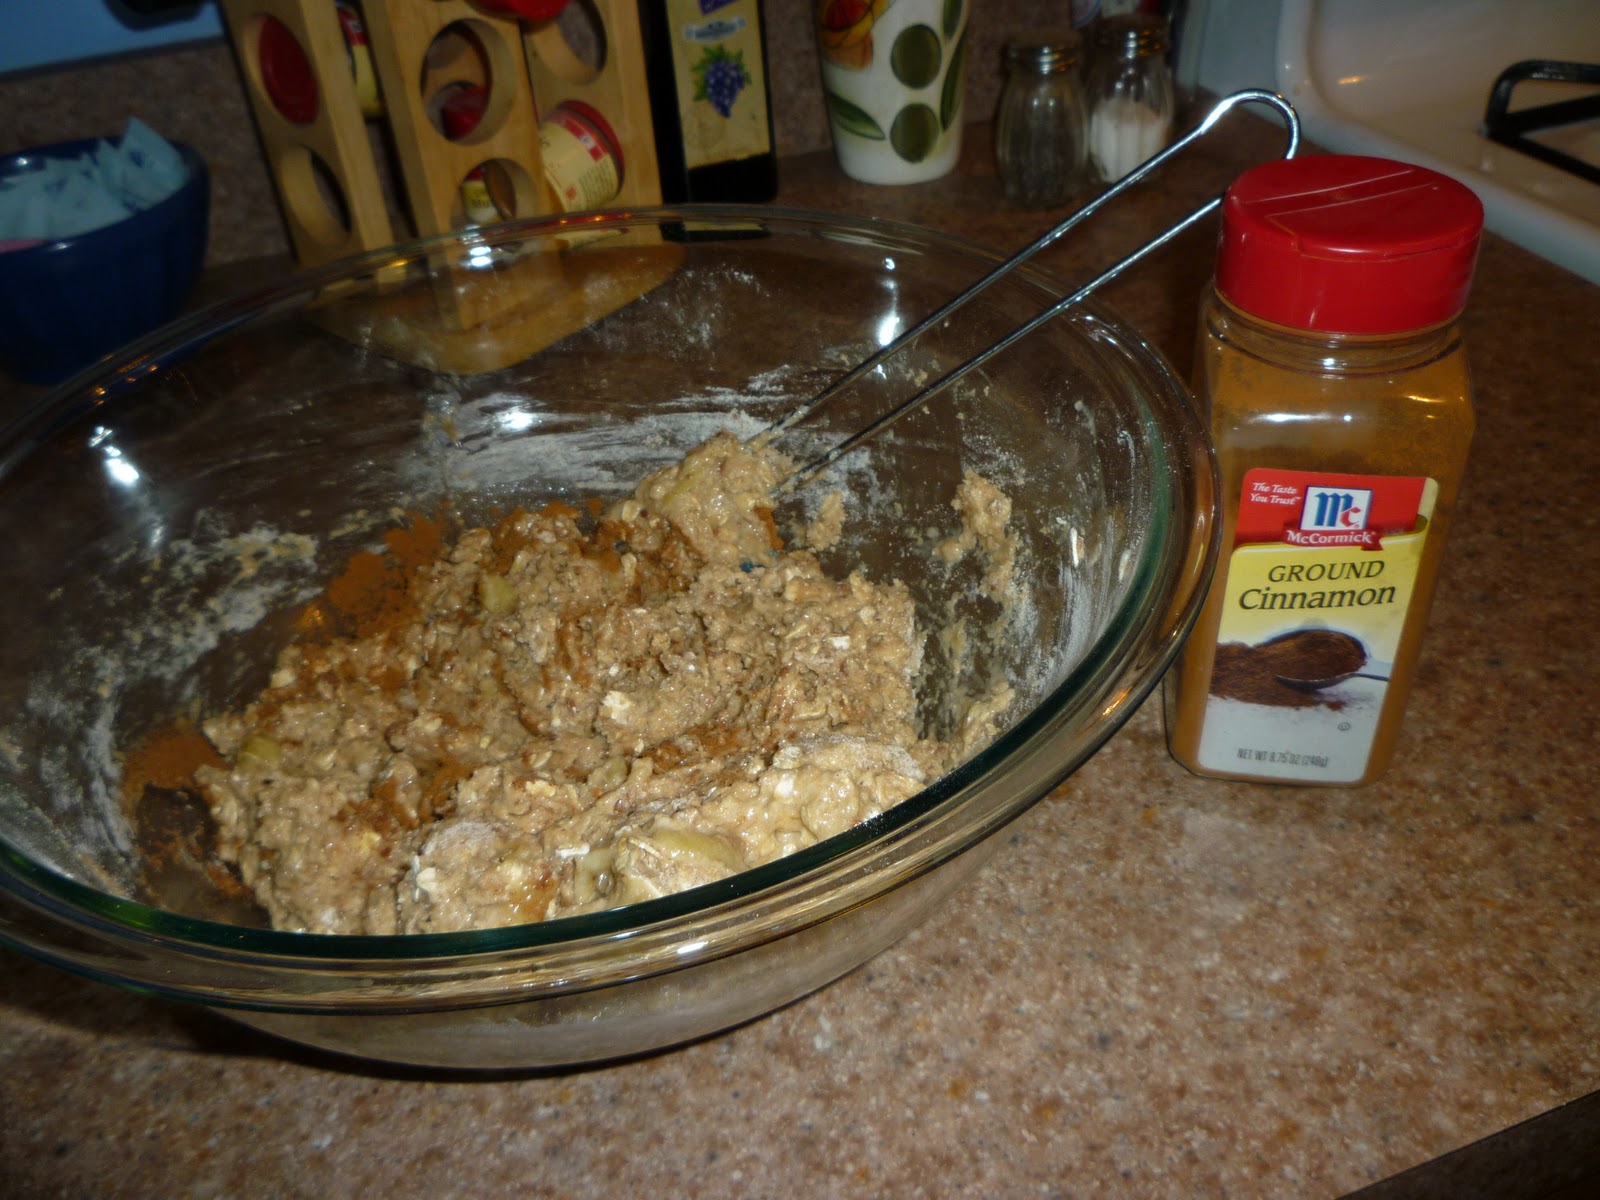
For the yogurt, instead of plain I used banana flavored (of the light, store-bought variety). The original recipe calls for dates, walnuts, and dried pineapple...  But I used about 1/2 cup chopped dates, 1/2 cup sliced almonds, and 3/4 cup pomegranate craisins (which are amazingly delicious, by the way!). Also, the recipe instructs you to sprinkle ground flaxseed on top of the muffins; instead, I used 2 Tbsp. whole flaxseed and put that in the muffin batter. I also added approximately 1 to 2 Tbsp. skim milk to make the batter a bit more moist. Oh, and how could I forget? I also added about 1 tsp. of cinnamon. I couldn't believe this recipe didn't call for cinnamon, one of the best spices ever!!
Otherwise, I followed the recipe as is. ;-)

Picture time!


Don't the ingredients inside look so yummy?! This was a pretty dense muffin. I mean, it practically has everything but the kitchen sink in it!! It's a great recipe for the fall or winter when you're looking for something a bit on the heartier side.

This made about a dozen regular sized muffins and 20 mini ones for me. Love those bite sized mini ones. ;-)

Hope to see you again sooner than later. I have several recipes waiting on deck for you!

Monday, November 22, 2010

Homemade Beer Brittle


Beer brittle?? Do I hear you scratching your head over there?! :) I decided to try my hand at making brittle the other day...and not just any ordinary brittle, but beer brittle! I honestly don't remember what inspired me. Sometimes an idea just pops into your head and you go with it!

I have to say that this recipe was not necessarily difficult. It was really just a tad time consuming. It definitely took longer than I anticipated, but it was still fun. Check out the recipe I used here.

As you can see, there's just a teeny bit of sugar in this recipe. ;-) The most time consuming part was bringing the mixture to the temperature of 300 degrees fahrenheit. I thought it would never reach 300!! But I stuck with it, as did my candy thermometer. :) And speaking of "stuck with it," this is a sticky mixture! Once the mixture is ready, you have to pour it quickly into the prepared pan. It also sticks to your teeth a bit when you eat it, but don't worry, it's worth dealing with the sticky-ness, thanks to how yummy it is! And it actually doesn't stick to your teeth for long either, I promise.

Pictures!!


The recipe calls for peanuts, but I used sliced almonds because that's what I had. And I toasted them! I did it on the stove. Super easy! The toasting really brings out the flavor of the nut. Have you ever toasted or roasted nuts before? See how to do it here! You can toast them on the stove or in the oven.


Check out that roasty toasty brown color. ;-)


SUGAR!


I chose to use good ol' Sam Adams Cream Stout.


The recipe didn't call for the whole bottle, so I did my part to finish it....


Let the liquids cook!


So this is when I started to worry about whether I was doing this correctly. First of all, I kept having to adjust the gas on the stove. It kept wanting to boil over! So if you try this recipe, be sure to closely monitor it on the stove.


Woah, what's that?! After the mixture finally reached 300 degrees after taking a lot longer than I anticipated, it "blew up"! It was ready to go right over the edge of the pan...


So I quickly brought it over to the sink. Doesn't that look kinda cool though? :)


There, it calmed down. As soon as it did I poured the mixture into two prepared pans lined with foil and sprayed with cooking spray.


Look at that leftover sticky goodness!


Don't worry; as messy as this looks, it actually cleans up very easily. I just let the pan sit full of hot water for several minutes, and voila, the sticky-ness vanished!


The brittle hardened very quickly. I took this piece off the pan to give it a taste. Yum!!


This recipe made a LOT of brittle!!!


All in all, I was happy I tried making this unique treat. It's not in my typical repertoire, so it was fun!

The taste was a bit nutty, caramel-y, and even a bit spicy! As you can see, the recipe calls for chili powder. I actually had just run out of chili powder before making this brittle, so I added a touch of cayenne pepper instead. And I really think you could taste it! It added a fun kick to it. ;-)


Talk to you again soon, hopefully!

Sunday, November 14, 2010

Pumpkin Cinnamon Chip Scones


You should know that I'm about to share with you my favorite recipe I've made so far this fall. I am in LOVE with these pumpkin scones. Now don't get me wrong... I'm also very fond of the other fall recipes I've made this year so far...pumpkin bread, butternut squash apple soup, apple crisp, butternut squash quinoa saladapple cider donuts, etc. They're all wonderful! But there's something about these pumpkin cinnamon chip scones that hasn't let me stop thinking about them since I made them a couple weeks ago. :-D

Scones, unfortunately, often get a bad "rap" about being dry and lacking in flavor. So not true! For those who think that, they must not be using the right recipe for their scones or they're not buying them from the right bakery. Scones can be incredibly delicious! I promise. ;-)

I found this recipe on the King Arthur Flour blog. If you haven't ever checked out their blog, you definitely should. The recipes they made always look so good!! Check out the KAF (King Arthur Flour :)) pumpkin scone recipe here.

Now, some pictures for your viewing pleasure...


Yummy spices - cloves, ginger, cinnamon, and nutmeg.


The recipe calls for one to two cups of cinnamon chips, chocolate chips, crystalized ginger, or the addition of your choice... I used just one cup of cinnamon chips (which are so delicious if you've never had them!). One cup was plenty! Two cups would have been too much, I think. White chocolate chips or dried cranberries/craisins might be yummy additions too.


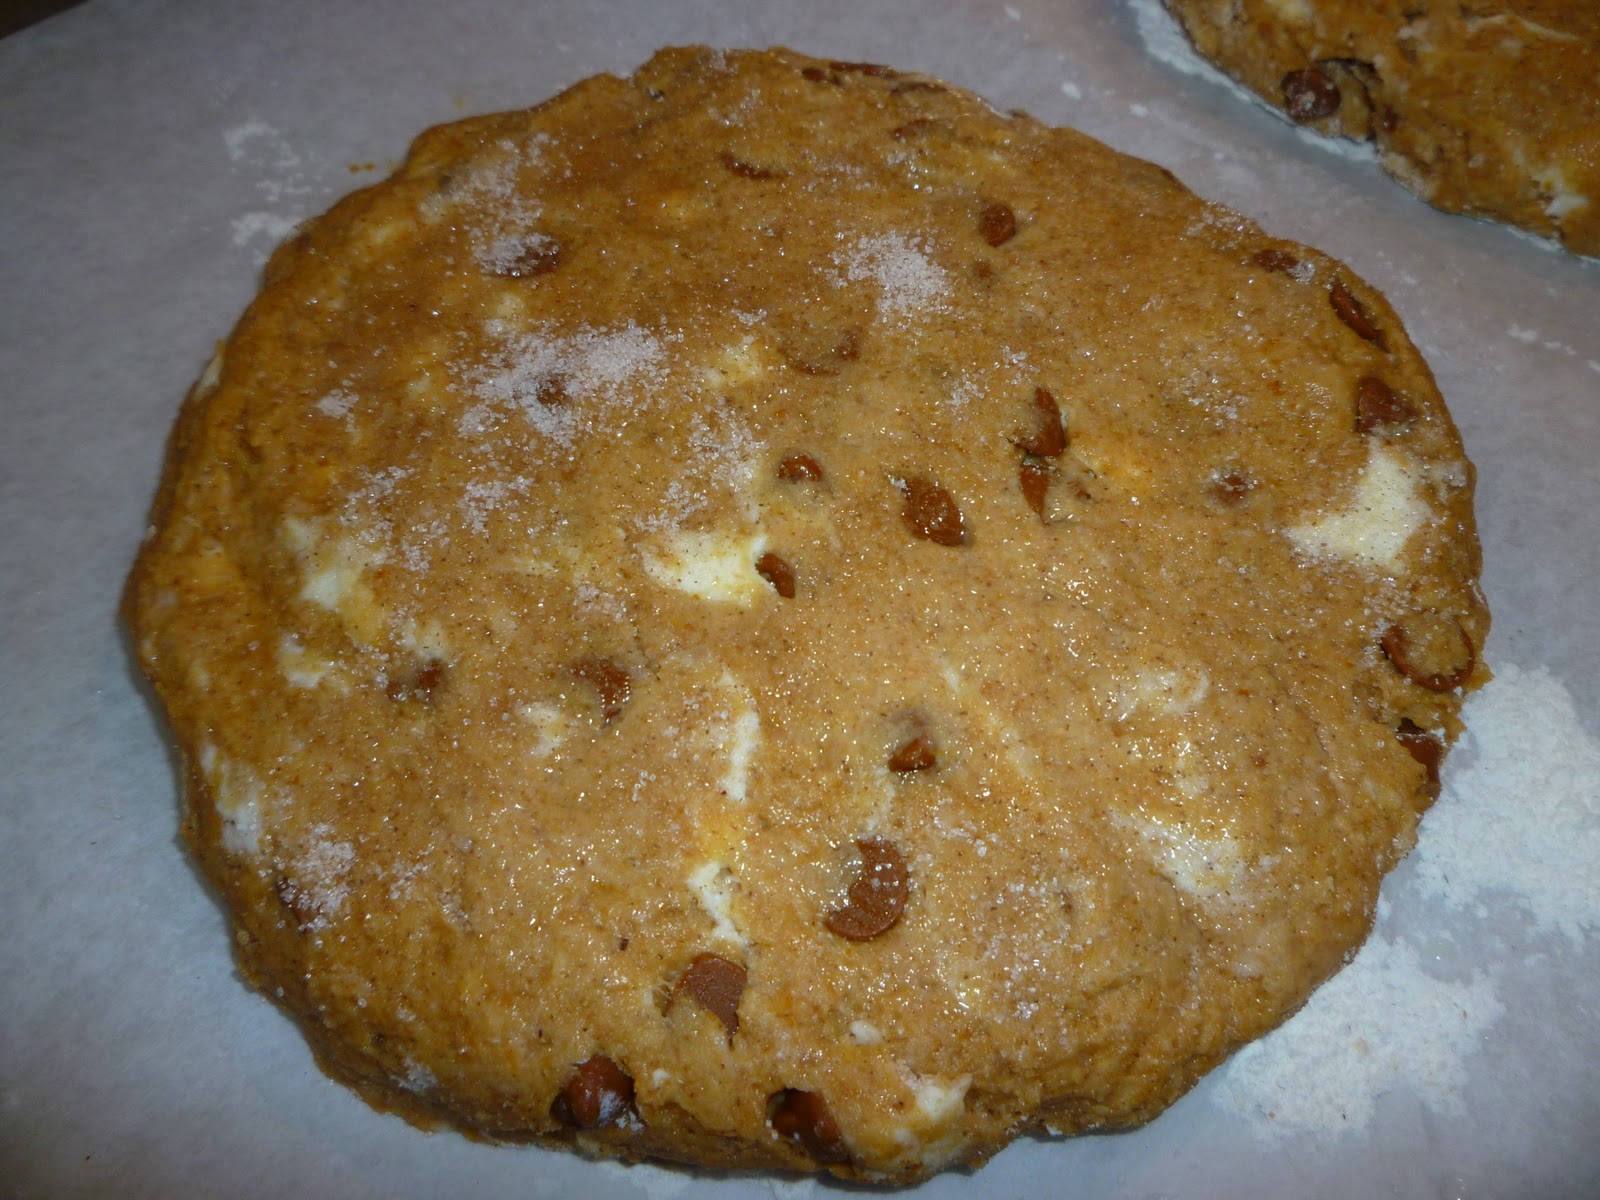
That's a cinnamon sugar mixture that's sprinkled on top. :)


If you look closely, you can see the cinnamon sugar!


The recipe made 12 scones, as you can see. They were pretty big in size though; I could have cut them smaller, but it was simple just to cut each round of dough into six slices. You can always cut them smaller after they're baked!


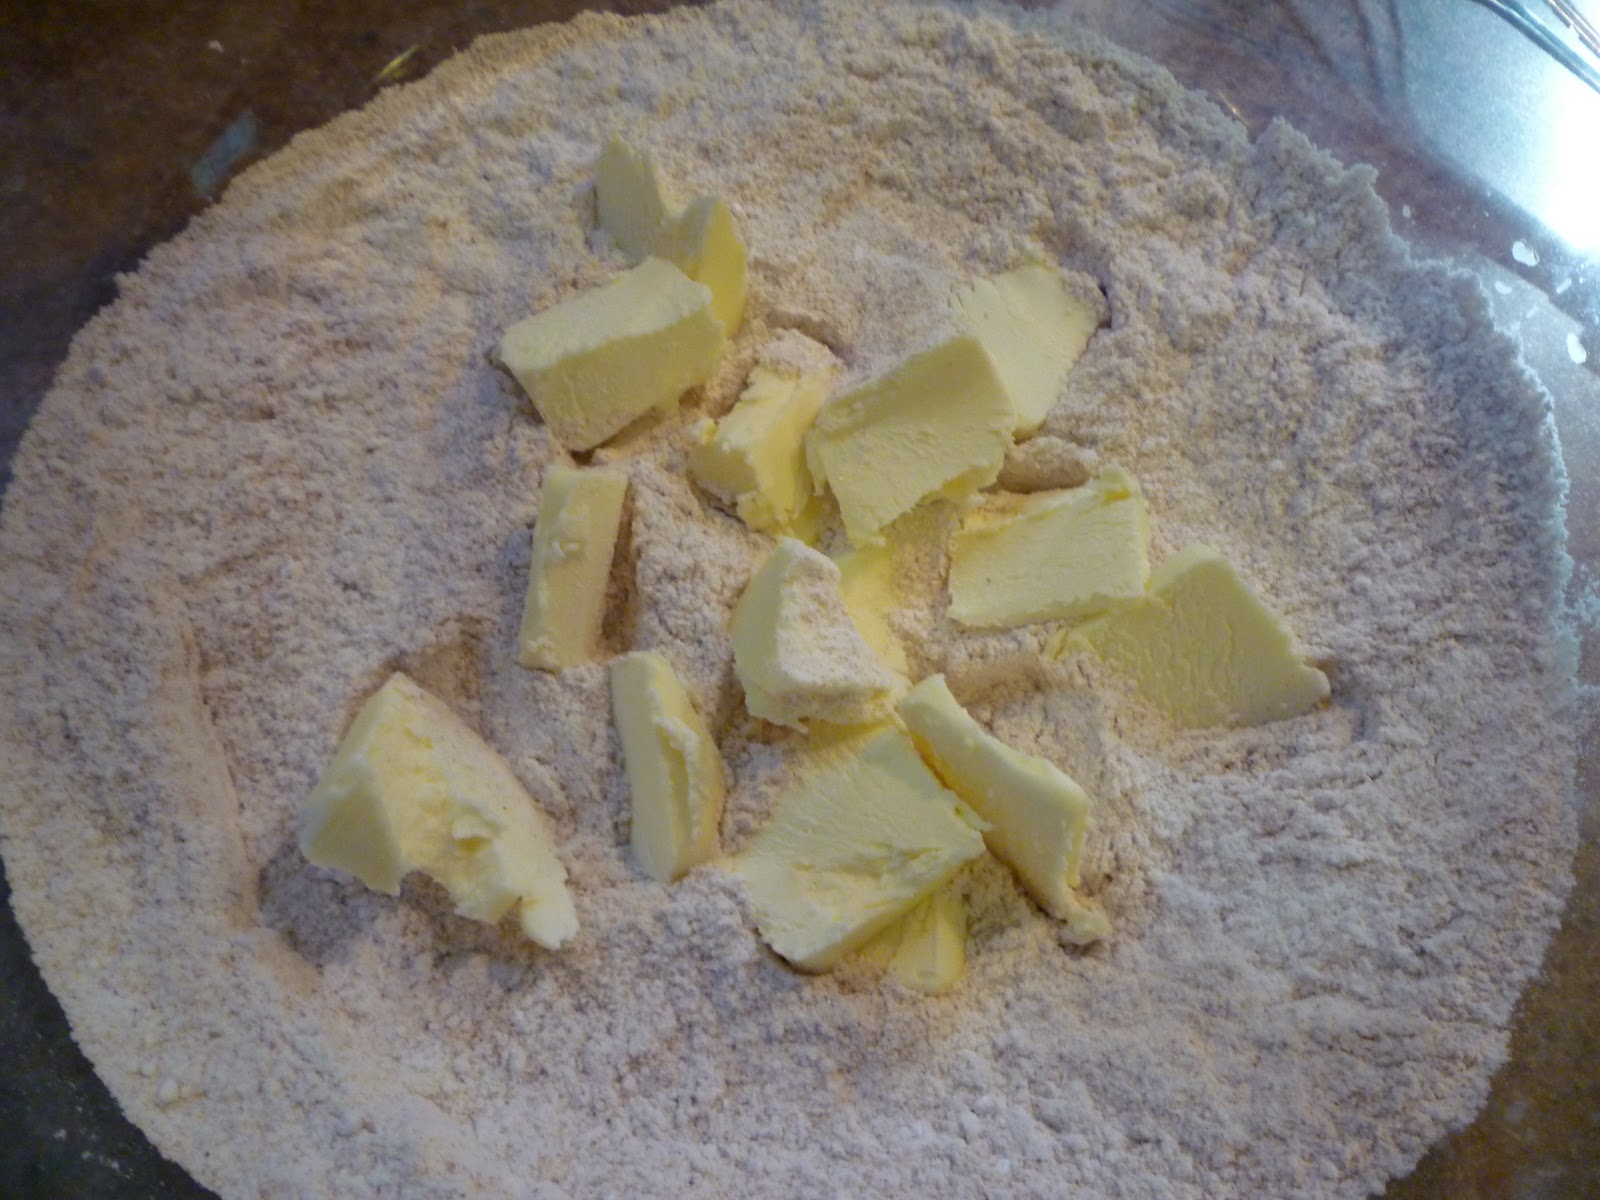
The raw dough before it's baked... Check out those chunks of butter.


The recipe says to put them in the freezer for a bit before baking. KAF says to do this for "the best texture and highest rise."


There are the beauties, in the oven!


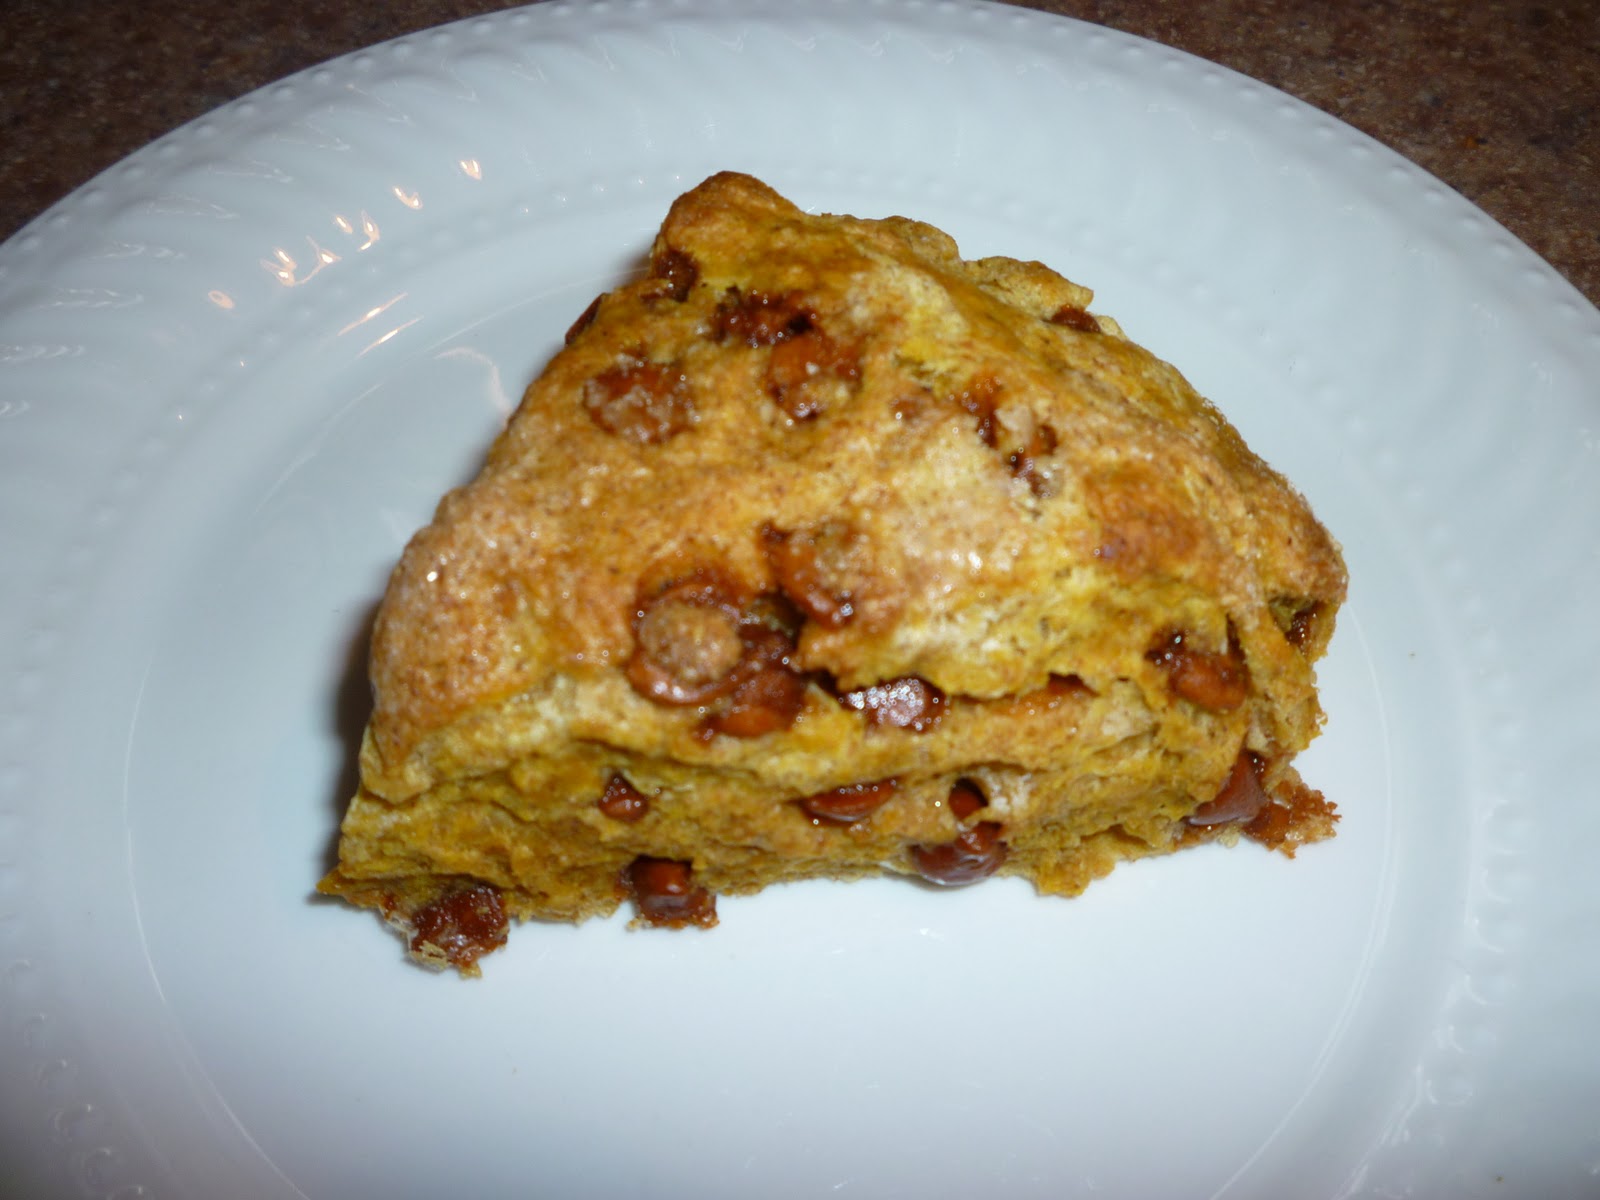
Fresh out of the oven. Don't they look delicious?!?


My mouth is watering as I'm writing this...


I was sad when I only had a couple bites left. :(

This recipe will definitely be a "go-to" fall breakfast recipe for me (or any season of the year really!). I hope you will try it and have the same feeling! Would love to hear your thoughts if you do. ;-)