Showing posts with label whole wheat. Show all posts

Wednesday, January 4, 2012

Root Vegetable Pizza with Sweet Potato, Rutabaga, Onion, and Acorn Squash


Who doesn't love eating pizza? And who doesn't love eating pizza that's both delicious and healthy? I'm pretty sure we all love pizza (if you don't, please do forgive me for making assumptions ;)), and I have another pizza recipe for you here today that you're bound to love. The inspiration for this pizza came from the fact that I had sweet potatoes and a rutabaga in the house that I wanted to eat up. With veggies like these, I'd typically roast them and eat them as a side dish with dinner or put them on top of a salad. The other day, though, those two ideas seemed boring to me. As I was brainstorming what else I should do with them, it hit me. Make pizza, of course! Just about any vegetable works on pizza really...well, according to the Barbershop rules of the kitchen anyway. :)

I bought whole wheat pizza dough at Whole Foods so I'd have a healthier dough as the base for my delicious pizza pie. I roasted my sweet potato, rutabaga, and onion in an oven around 400 degrees or so. All the veggies were drizzled with olive oil and sprinkled with salt, pepper, and dried rosemary. I had actually roasted the acorn squash a few nights earlier so I only had to roast the other three. On top of my pizza dough, I spread a thin layer of canned tomato sauce and then the veggies. I then sprinkled some shredded mozzarella cheese and baked the pizza for about 10 - 12 minutes or so at 400 degrees (my oven cooks quickly; I think it might normally take a bit longer than that).

Oh, and in case you were wondering, before roasting the veggies, I chopped the rutabaga into 1/2-inch pieces (as pictured below) and the sweet potatoes into round slices that were maybe 1/4-inch thick. I don't peel my sweet potatoes before roasting them, but you're more than welcome to peel them if you don't care for the skin. You do have to peel a rutabaga before chopping or slicing though - just an FYI if you've never cooked with rutabaga! I hadn't ever cooked with one until we got one in our CSA last fall.


What here doesn't belong??


Whoops! Guess I snuck in a picture of the other pizza I made the same night. This one was more classic - peppers, mushrooms, and tomatoes. Also a winning veggie combo!


Deeelish! I was so in love with this pizza. I've been enjoying leftovers for lunch at work the past two days too. Leftover pizza's the best and it's even better when it's full of yummy root veggies!

Happy mid-week, friends. :)

Sunday, December 12, 2010

Morning Glory Muffins


Why hello there! I am back. :-D I apparently took a pretty long hiatus from blogging. Oops! It wasn't intentional; I recently moved, so that took up a LOT of my time and I haven't even had a few seconds to think about blogging! That doesn't mean I haven't been baking though. ;-) 

This recipe for morning glory muffins was the last baked good I made in my previous home. Maybe my next post will be the first item I made in my new home! I really liked these muffins. They are a Cooking Light recipe (always a plus), and they're hearty at the same time too. The recipe I generally followed is here, but I made some additions and changes (would the Barbershop have it any other way?!). Here's what I altered:

For the yogurt, instead of plain I used banana flavored (of the light, store-bought variety). The original recipe calls for dates, walnuts, and dried pineapple...  But I used about 1/2 cup chopped dates, 1/2 cup sliced almonds, and 3/4 cup pomegranate craisins (which are amazingly delicious, by the way!). Also, the recipe instructs you to sprinkle ground flaxseed on top of the muffins; instead, I used 2 Tbsp. whole flaxseed and put that in the muffin batter. I also added approximately 1 to 2 Tbsp. skim milk to make the batter a bit more moist. Oh, and how could I forget? I also added about 1 tsp. of cinnamon. I couldn't believe this recipe didn't call for cinnamon, one of the best spices ever!!
Otherwise, I followed the recipe as is. ;-)

Picture time!


Don't the ingredients inside look so yummy?! This was a pretty dense muffin. I mean, it practically has everything but the kitchen sink in it!! It's a great recipe for the fall or winter when you're looking for something a bit on the heartier side.

This made about a dozen regular sized muffins and 20 mini ones for me. Love those bite sized mini ones. ;-)

Hope to see you again sooner than later. I have several recipes waiting on deck for you!

Thursday, September 16, 2010

Whole Wheat Banana Muffins


 I have another fall-ish recipe for you!  Whole wheat banana muffins...  Actually, to be fair, I don't always consider banana to just be a fall flavor, but as I made these muffins, the delicious cinnamon aroma that accompanied them while baking did make me associate them with fall...and that cinnamon aroma continued to stay with the muffins a few days afterward too.  Perfect. :)

This recipe is from a favorite blog of mine, Our Best Bites.  I've shared a couple frosting recipes with you from this blog (which have become go-to frosting recipes too! one is vanilla and one is chocolate).  Judging by the thousands of followers Our Best Bites has and by the success I've had with their recipes in the past, I thought this muffin recipe might be a winner too...and I was right!  These were very flavorful, moist, hearty, and just plain yummy.  You can find the recipe for the whole wheat banana muffins here.


I used some fun autumn muffin/cupcake liners!  Love these.


Here are some mini muffins, fresh out of the oven! Who can resist a yummy mini muffin?! I can't...

This was a very simple recipe overall.  No fancy ingredients or techniques necessary!  The original recipe actually calls for adding pecans too, but I don't always add nuts to recipes, and I chose not to with this one.  I guess I just wasn't craving a crunchy muffin!

These muffins really helped me to get in the mood for fall, my favorite season.  I just love it!  I know that in my last post I said I was going to try my hand at homemade cider donuts.  I haven't forgotten, don't you worry!  At some point this fall I'll be making them; I'm just not sure when quite yet. ;-)

I need your opinion...  Flash or no flash with these photos below?  Which do you prefer?  I think I know what I like, but I'd like your opinion too...please and thanks. :)


Talk to you again soon!

Wednesday, March 3, 2010

Whole Wheat Apple Muffins

Well, I still don't have a dessert recipe for you...sorry! But I hope you'll still enjoy this post. :) I am on "bagel duty" for lab meeting at work this week, but every time in the past when I've been on bagel duty I've made something at home to bring instead. So this time was no exception! After browsing recipes for foooorever (which I always do), I decided I'd try these whole wheat apple muffins. I found the recipe on a blog I highly enjoy and have mentioned before, Smitten Kitchen, although the recipe is originally from King Arthur Flour.
Overall, it was a very easy recipe (Have you noticed a theme with me? I don't really do too many difficult recipes...but I blame my lack of time for that.). It also didn't call for any abnormal ingredients, which is another quality I typically look for in a good recipe! I was pleasantly surprised when I made 20 muffins out of this too, although I guess I wasn't too surprised since Smitten Kitchen said it made 18 muffins anyway. :)
I followed the original recipe almost exactly... The only changes I made were an addition of about 1/4 to 1/2 tsp. of cloves and the substitution of light vanilla yogurt for the buttermilk. That is all!
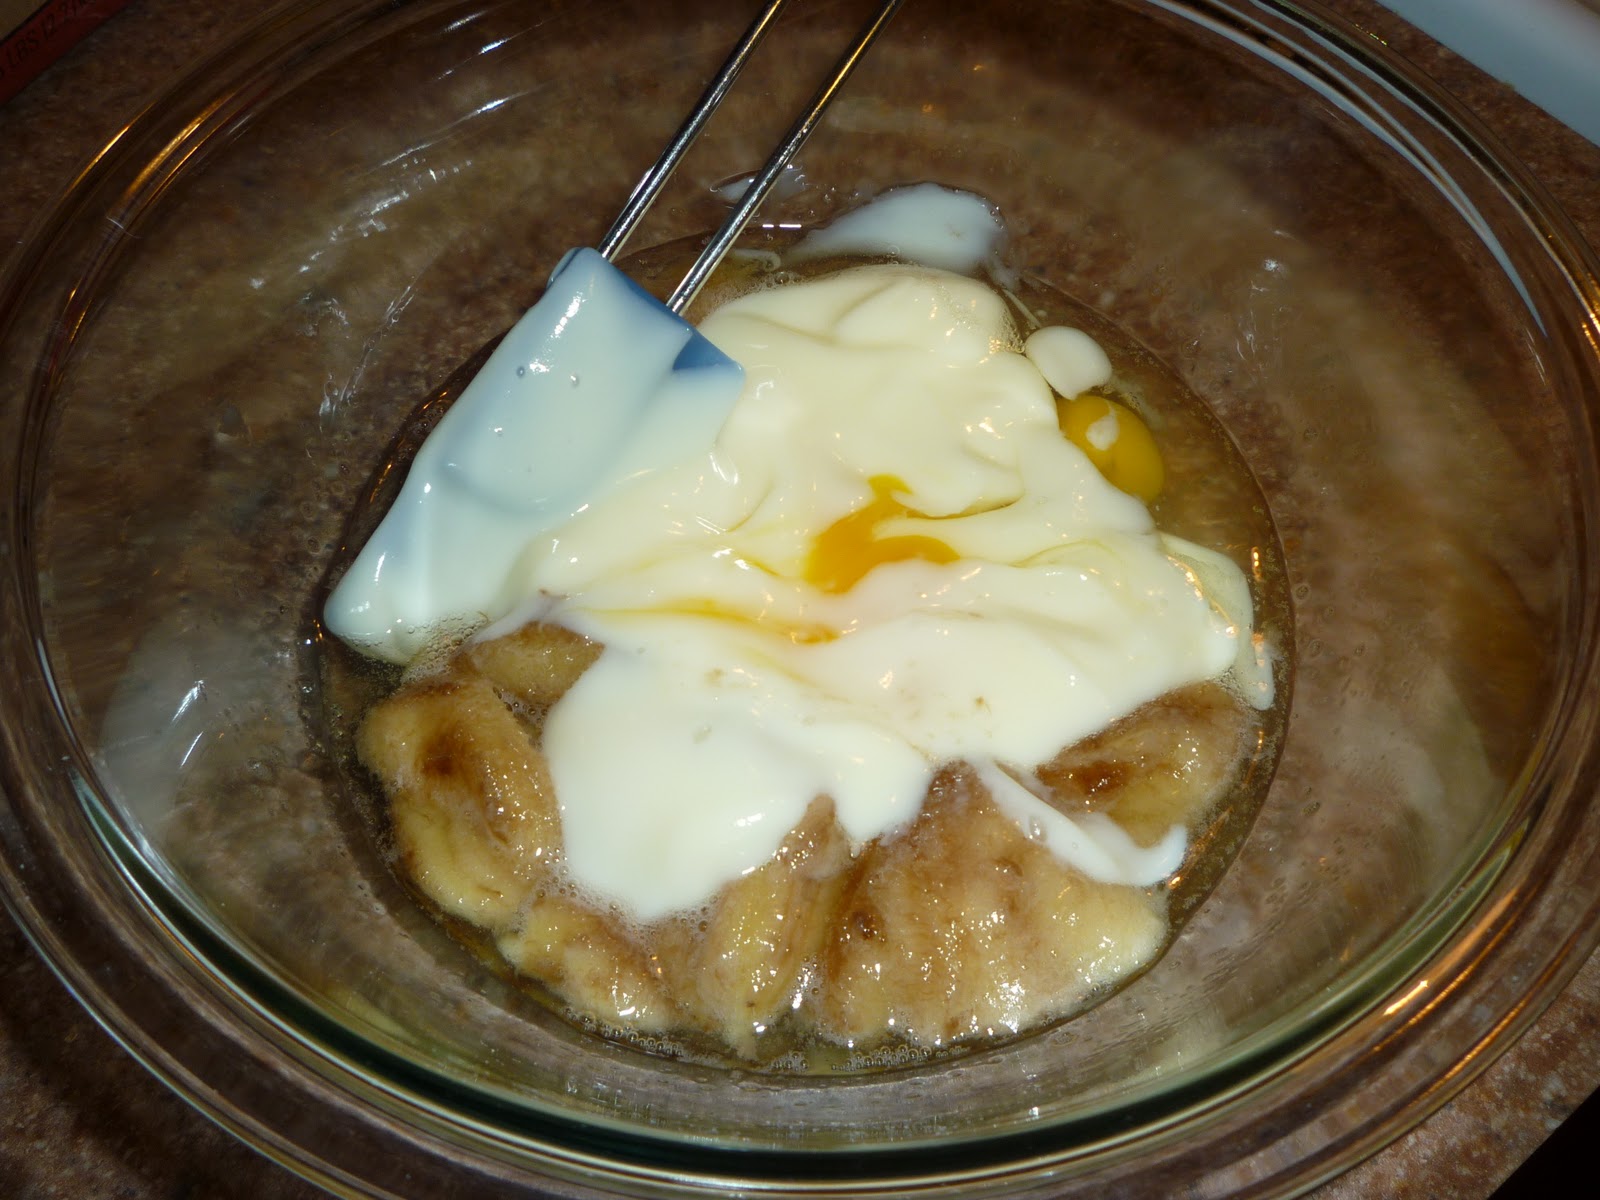
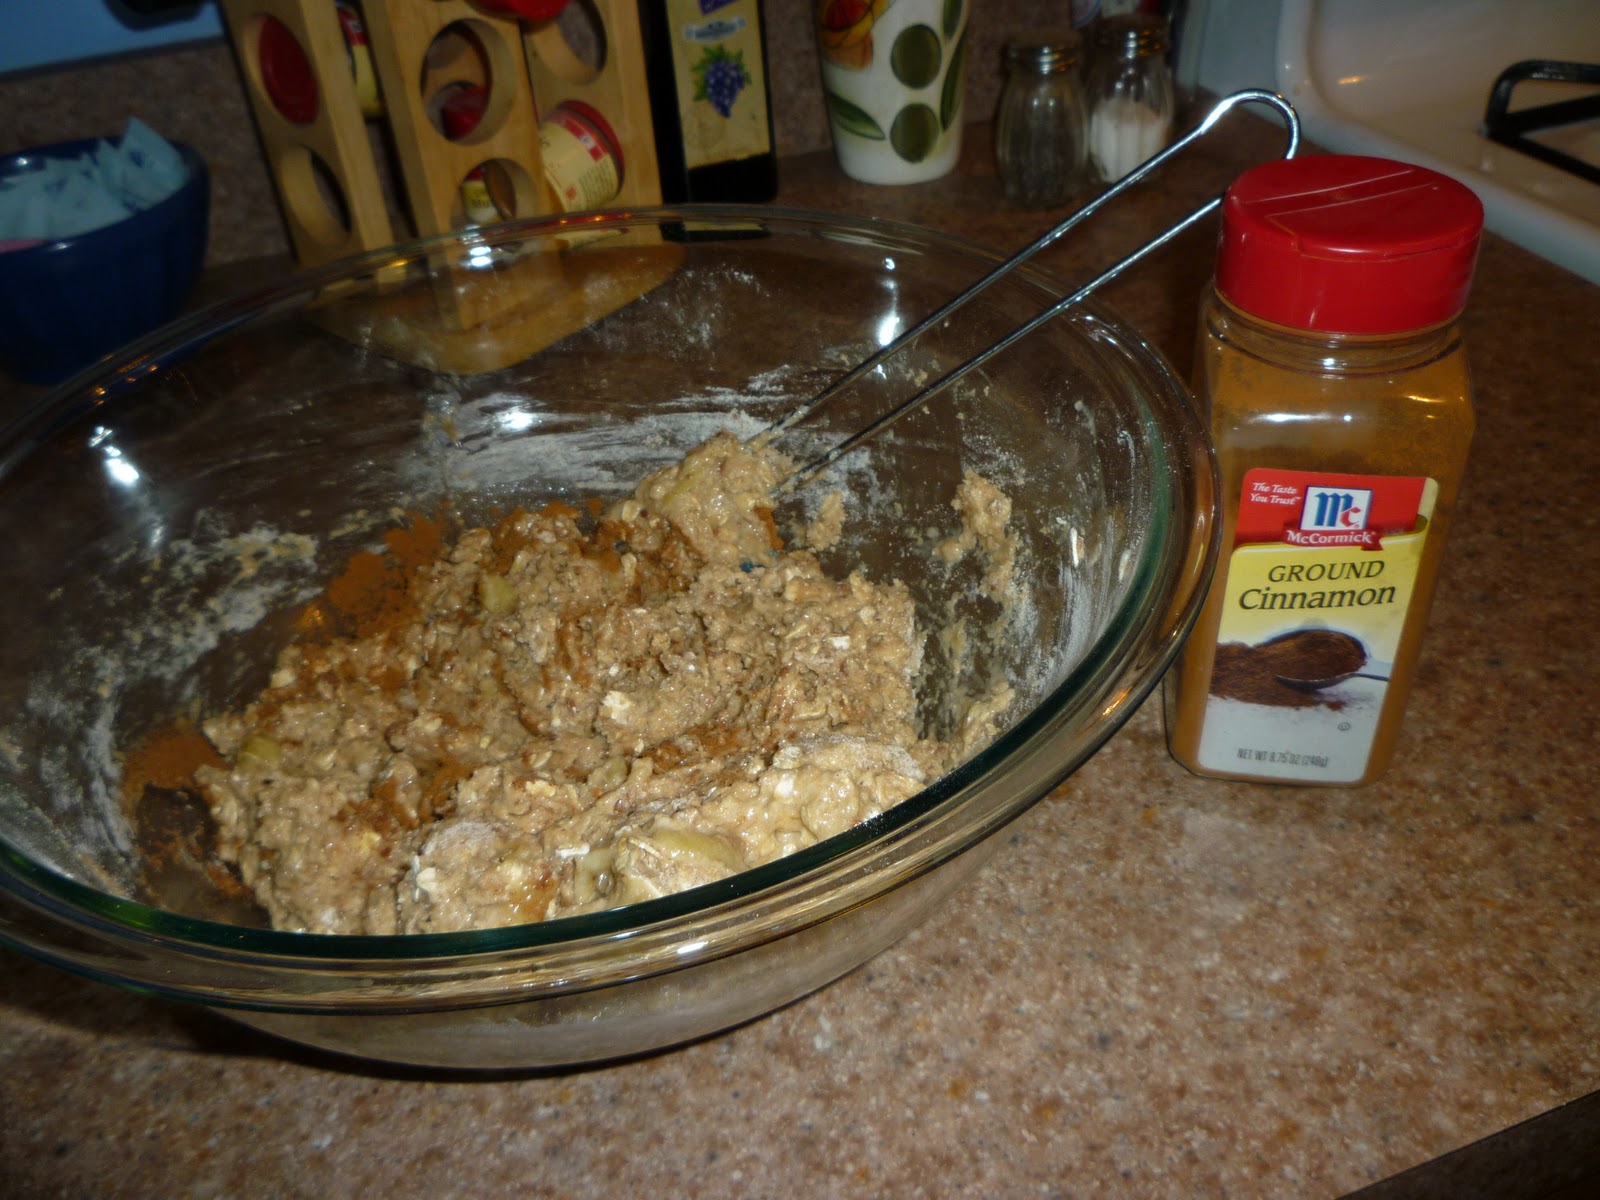
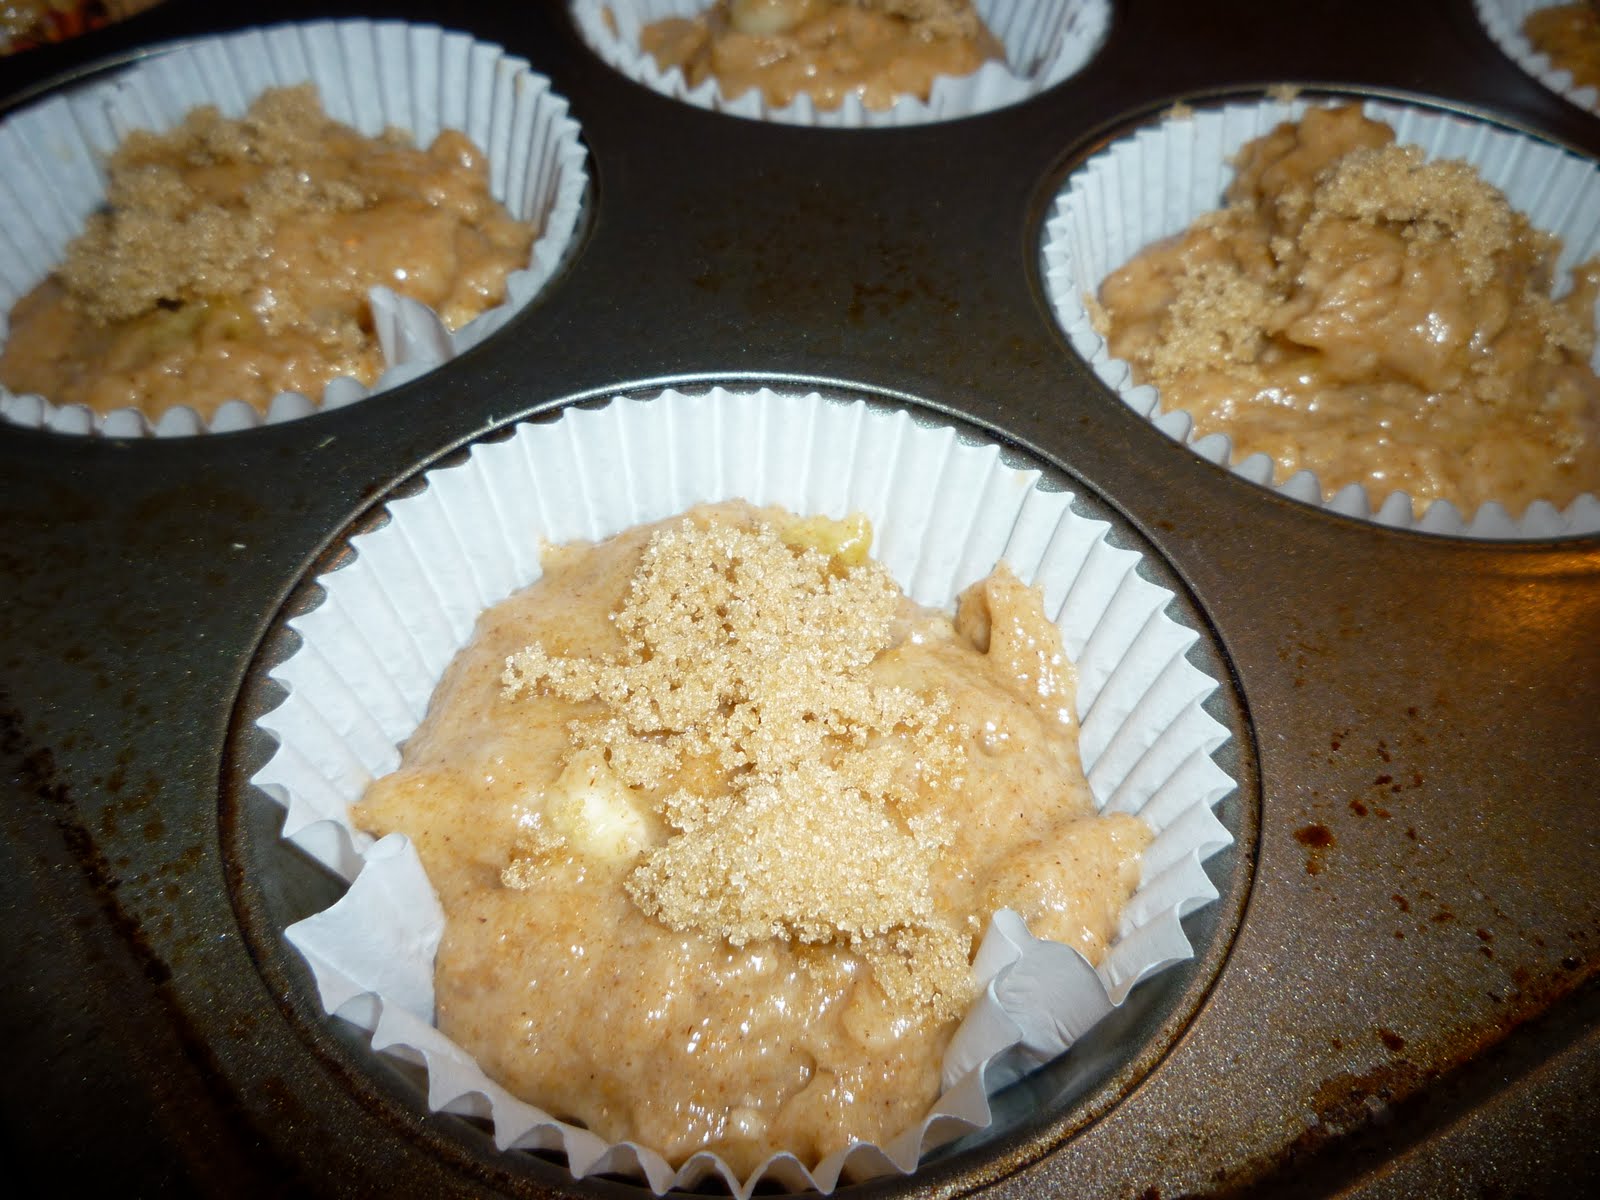
Here you can see the dry ingredients (notice the cloves vs. the cinnamon?!) and then the batter with everything but the apples mixed in.
I ended up using Cortland apples because I had bought some earlier in the week (they were the only kind of apples on sale!). Oh, and I also left the skins on the apples. The recipe called for skinning the apples, but I like the added color and texture of the skins!
Here they are, fresh out of the oven on the cooling rack!
Did you notice my St. Patty's Day muffin cups? Hard to believe March is here... One of my favorite holidays is just around the corner! I am rather Irish, after all... My name Colleen means "girl" in Gaelic. Can you get more Irish than that? ;-)
Stay tuned for my next post... It's going to be another breakfast item because I'm bringing more than just these muffins to lab meeting on Friday!

Monday, January 11, 2010

Whole Wheat Peanut Butter Crackers

A couple years ago I tried my hand at making crackers and my attempt wasn't incredibly successful.... So, I thought I'd give it another shot! In my The Fannie Farmer Baking Book (a classic baking book that I love!), there are several recipes for all sorts of homemade crackers...graham crackers, white crackers, oatmeal crackers, walnut crackers, mexican crackers (which have a spicy kick to them!), etc. Since I had all of the ingredients on hand (which was only five things) for the whole wheat peanut butter crackers, I thought I'd try them for fun!
Above is a picture of four of the five ingredients; the fifth is water!
The following is the recipe, taken directly from the Fannie Farmer book:
-1/2 tsp. baking soda
-1/2 cup peanut butter (creamy or chunky)
-1 tsp. salt
-1/2 cup warm water
-about 2 cups whole wheat flour
Preheat oven to 350. Use ungreased cookie sheets. Combine the baking soda, peanut butter, salt, and warm water in a bowl, and stir vigorously until well blended. Add 1 and 1/2 cups of the flour and mix well. Add more flour if the dough is too tacky to manage; it should be rather stiff and coarse.
Turn out onto a lightly floured surface and roll out to a thickness of about 1/16 inch. Trim the dough to fit your cookie sheet and, using your hands and a spatula, transfer the dough to the cookie sheet. With a knife, score the dough into rectangels 2 inches by 1.5 inches, not cutting all the way through (You can really make them whatever size you want! Mine were probably about 1-inch square).
Bake for 7 minutes on one side, turn the cracker sheet over and bake for another 5 to 7 minutes, or until the crackers feel firm and crisp. Remove from the oven and cool on racks. Break the crackers into individual crackers and serve.
All in all, I was happy with how the crackers turned out. I made the first batch exactly as the recipe instructed. The cool thing about homemade crackers is that no two are alike! They don't really come out to be perfect squares, but who cares? After the first batch, for fun I tried making them more like you'd make sugar cookies. I used the rim of a small glass to cut the crackers into rounds and then baked them each separately instead of in one big sheet. Another point to mention is that it is reeeeally tough to roll out the dough to be 1/16 of an inch! That is very thin... Mine were probably more like 1/10 or 1/12 of an inch maybe? I'm not entirely sure. I didn't actually measure. :) But, as a result, I did have to bake my crackers longer, probably about 10 minutes or so on each side rather than the 7 minutes that the recipe says.
I've eaten a few crackers each day this week for a mid-morning or afternoon snack. They pair quite well with a nice cup of tea or coffee! I have eaten them plain each time too (well, with the exception of the first night I made them - will explain shortly), but I think they might be tasty with a bit of jam on them or maybe nutella? Mmmmm. Or, maybe even a bit of peanut butter spread on them would be yummy! The night that I made them, I had the fun idea of making a mini ice cream sandwich with a couple of the round crackers...here's a picture of it. :)
Fun times with homemade peanut butter crackers! Oh, and the cookbook did not have any nutritional information listed, although my guess is these can't be too bad for you...the peanut butter and whole wheat flour are healthy ingredients so I'm going to go out on a limb and call these a healthy snack. :)