Showing posts with label sweet potato. Show all posts

Tuesday, February 28, 2012

Sweet Potato and Black Bean Burritos


I cook several nights a week, sometimes by myself and sometimes with Mike. For a while now though, we've gotten into a routine of me cooking for us on Monday and Wednesday nights, as Mike works late on those evenings. Some nights when I'm cooking for the two of us, I take more time to make an "elaborate" meal (although, nothing I make is ever that elaborate!!). Then there are other nights when I use the extra time I have when Mike's still working to take care of "stuff." There's always so much to do! Go to the gym, do errands, and you know, just take care of all those random things that pile up... So, on those nights when I'm being super productive and my focus on cooking dinner takes up much less of my time and effort, I put together an easy meal like these sweet potato and black bean burritos. Simple, quick, healthy, and delicious! Love it. I made these last week on a night Mike was working late. It was a win-win; I still had lots of time to be productive and take care of things, and I was also able to get dinner on the table to feed my hungry fiance at 9 pm! :)


This recipe is adapted from The Novice Chef. The ingredients I used are below.

Ingredients:

-1 medium onion, finely chopped
-1 garlic clove, minced
-1/4 to 1/2 tsp. chili powder
-1/2 tsp. pepper
-1/2 tsp. salt
-1 15-oz. can black beans, drained and rinsed
-2 medium to large sweet potatoes, cooked and mashed (without skins)
-tortillas or wraps of your choice (I used 8-inch whole wheat wraps)
-sour cream
-fresh cilantro
-salsa

Instructions:

Preheat oven to 400 degrees. To prepare your sweet potatoes, you can do one of two things. You can bake them in the oven for about 45 minutes to an hour (bake them with the skins on, but poke some holes in the potatoes with a fork first). Or, you can do what I did last week when I made these... I microwaved my potatoes! Remember how I wanted to make an easy dinner and save time? Well, you can very easily microwave sweet potatoes too. Pierce them with a fork, and microwave each one for 6 to 10 minutes (depends on your microwave) until tender. Voila! Works just as well as baking them, and it's an especially easy method when you're using the sweet potatoes for a dish like these burritos. More specific instructions for microwaving sweet potatoes can be found here.

Once your sweet potatoes are cooked, use a fork or spoon to remove the inside and discard the skins. Place the sweet potatoes in a bowl and mash them with a fork.

To prepare the black bean filling, heat a teaspoon or so of olive oil in a non-stick skillet over medium heat. Add finely chopped onion and minced garlic to pan, and saute until they become slightly brown and translucent, about 4 to 6 minutes. Mix in the chili powder, salt, and pepper, and cook for 1 more minute before removing from heat.

In a food processor, pulse the black beans and onion mixture until smooth. Fill each wrap with about 1/3 cup of the black bean mixture and 1/3 cup of the mashed sweet potatoes. Roll the wraps into burrito shapes (I honestly had no idea how to do this, so mine looked like the picture you see above!). Grease a cookie sheet or baking pan, and place burritos on the pan. Bake for 15 minutes, until the inside of the burritos is nice and hot. 

Serve with sour cream, salsa, or any other toppings of your choice!
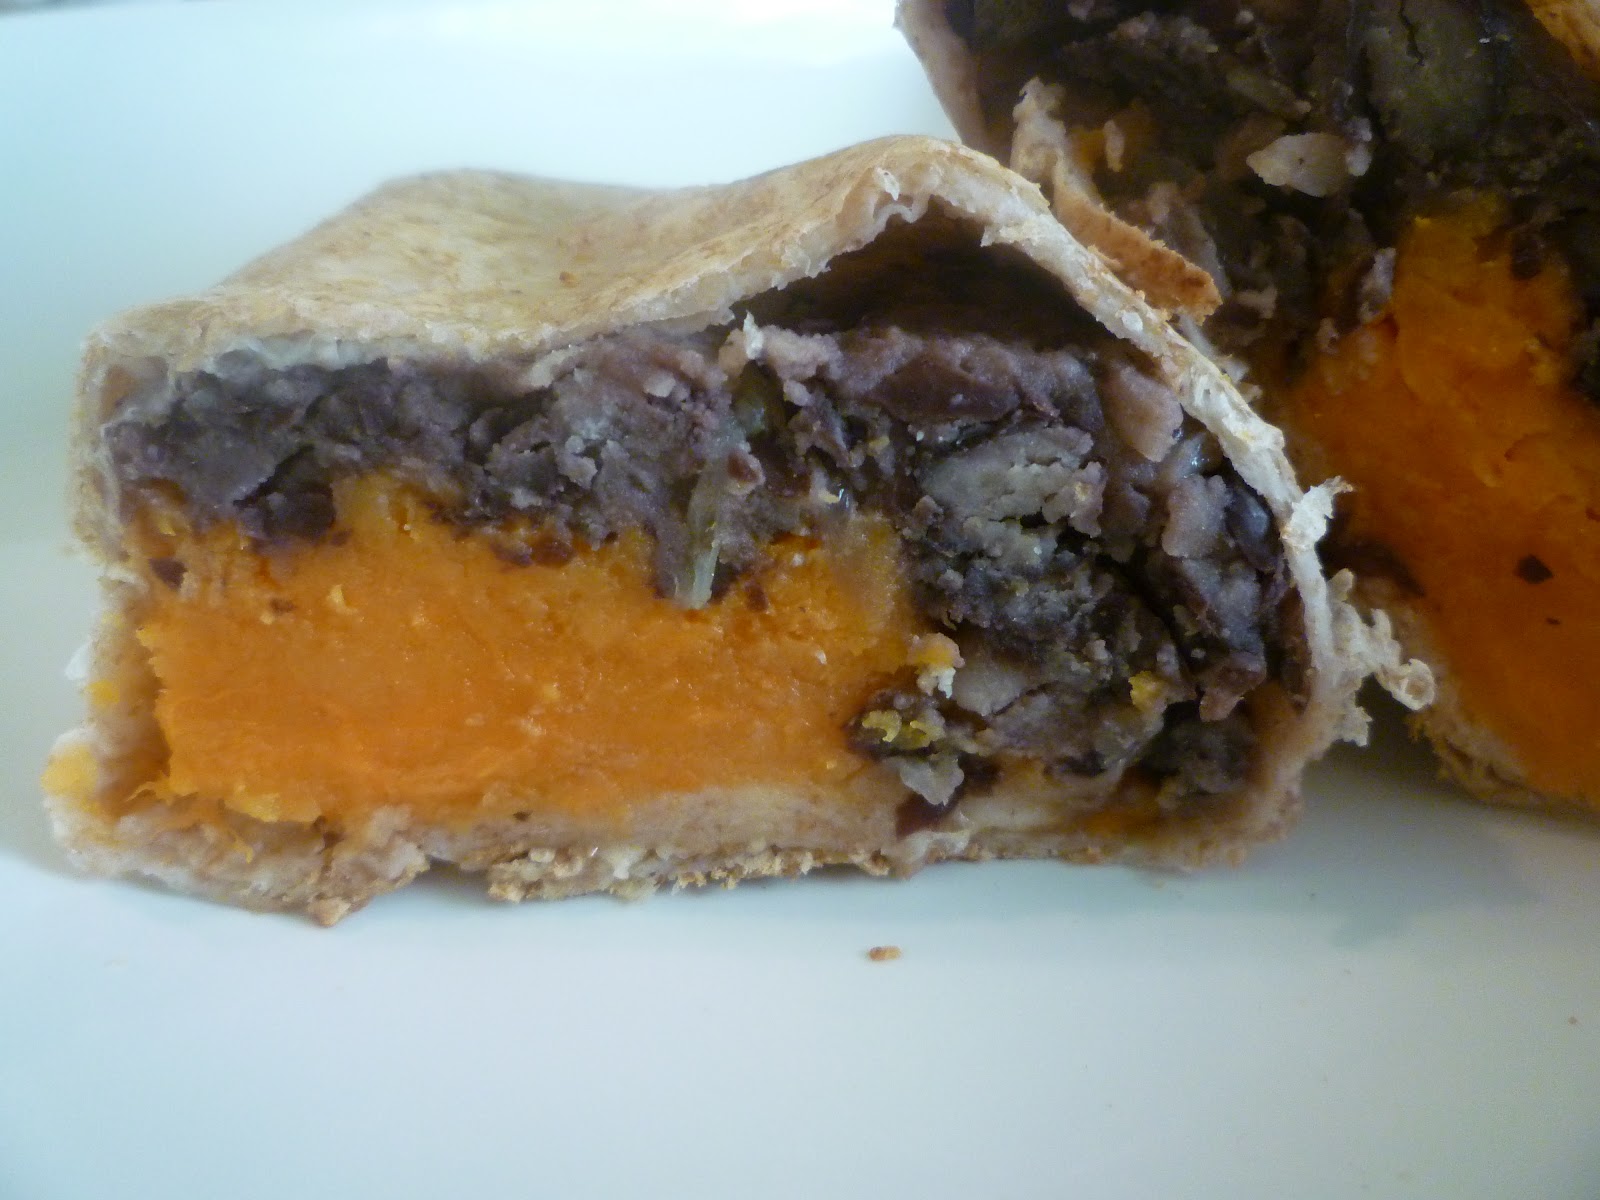

I chopped up some fresh cilantro and mixed it with sour cream for some added flavor. The outer edges of the burritos got slightly crispy as they baked in the oven. YUM!


These were extremely tasty! And they were light to eat, yet filling at the same time. Such a fun and easy weeknight meal. Even though they were meatless, Mike loved them too! But then again, he'd probably love any dinner I cooked him at 9:00 at night after a long day's work...

Wednesday, January 4, 2012

Root Vegetable Pizza with Sweet Potato, Rutabaga, Onion, and Acorn Squash


Who doesn't love eating pizza? And who doesn't love eating pizza that's both delicious and healthy? I'm pretty sure we all love pizza (if you don't, please do forgive me for making assumptions ;)), and I have another pizza recipe for you here today that you're bound to love. The inspiration for this pizza came from the fact that I had sweet potatoes and a rutabaga in the house that I wanted to eat up. With veggies like these, I'd typically roast them and eat them as a side dish with dinner or put them on top of a salad. The other day, though, those two ideas seemed boring to me. As I was brainstorming what else I should do with them, it hit me. Make pizza, of course! Just about any vegetable works on pizza really...well, according to the Barbershop rules of the kitchen anyway. :)

I bought whole wheat pizza dough at Whole Foods so I'd have a healthier dough as the base for my delicious pizza pie. I roasted my sweet potato, rutabaga, and onion in an oven around 400 degrees or so. All the veggies were drizzled with olive oil and sprinkled with salt, pepper, and dried rosemary. I had actually roasted the acorn squash a few nights earlier so I only had to roast the other three. On top of my pizza dough, I spread a thin layer of canned tomato sauce and then the veggies. I then sprinkled some shredded mozzarella cheese and baked the pizza for about 10 - 12 minutes or so at 400 degrees (my oven cooks quickly; I think it might normally take a bit longer than that).

Oh, and in case you were wondering, before roasting the veggies, I chopped the rutabaga into 1/2-inch pieces (as pictured below) and the sweet potatoes into round slices that were maybe 1/4-inch thick. I don't peel my sweet potatoes before roasting them, but you're more than welcome to peel them if you don't care for the skin. You do have to peel a rutabaga before chopping or slicing though - just an FYI if you've never cooked with rutabaga! I hadn't ever cooked with one until we got one in our CSA last fall.


What here doesn't belong??


Whoops! Guess I snuck in a picture of the other pizza I made the same night. This one was more classic - peppers, mushrooms, and tomatoes. Also a winning veggie combo!


Deeelish! I was so in love with this pizza. I've been enjoying leftovers for lunch at work the past two days too. Leftover pizza's the best and it's even better when it's full of yummy root veggies!

Happy mid-week, friends. :)

Tuesday, November 15, 2011

Barbecue Chicken Pizza with Roasted Sweet Potatoes, Peppers, Onions, and Rosemary on Multigrain Dough


Homemade pizza is probably in my top three dinners of all time. I love its versatility and the opportunity it provides to have a fairly healthy meal that's also a comfort food. :) I've written previously about some of my favorite combinations of toppings, and I've also shared an awesome savory pumpkin pizza dough recipe on the blog. Today I'm sharing a "recipe" for a most delicious pizza that Mike and I made last week - barbecue chicken pizza with roasted sweet potatoes, peppers, and onions on multigrain dough. YUM!

I used the multigrain pizza dough from Whole Foods when we made this pizza. Oh my goodness. This dough is the best! A Whole Foods very recently opened where I live, and I am sooo excited about it. Last week I picked up the last bag of multigrain dough that was on the shelves at the time, and I think it was meant to be. WF multigrain dough + me = a match made in heaven. Try not to be too jealous, fiance Mike. ;)

Now, this recipe doesn't really have exact measurements, per se. When making pizza, I just eyeball everything. So I apologize for not having measurements, but you'll get the idea!

Ingredients:

-pizza dough of your choice (you can make your own, of course!)
-barbecue sauce (I used a honey bbq sauce)
-cooked chicken, shredded or cut into bite-sized pieces (I baked a medium sized chicken breast with bbq sauce and then cut it into bite-sized pieces)
-roasted sweet potatoes (about 3/4 cup or so; I used leftovers I had roasted a couple nights prior, and at that time they were seasoned with salt, pepper, and rosemary)
-pepper (any color!), sliced
-onion, diced
-dried rosemary or other herbs of your choice
-shredded cheese of your choice (I used a store bought "Italian" blend of cheeses)

Instructions:

Preheat oven to 425 degrees. If using a pizza stone, preheat it in the oven (to prevent it from cracking). Saute your onion and pepper in olive oil, over medium heat on the stove, for 6 or 8 minutes until they start to get soft (they will cook more in the oven). Spread out your dough until it's as thick or thin as you'd like. Evenly spread a few tablespoons (or so!) of bbq sauce across the dough. Place the rest of your toppings (cooked chicken and veggies) evenly on top of the bbq sauce, and then sprinkle with your preferred flavor(s) and amount of cheese. I typically don't like my pizza too cheesy, as I don't want the cheese to overpower the taste of all the other delicious toppings! And it's healthier with less cheese too. ;) We chose to sprinkle some dried rosemary over top of our pizza before baking it. Feel free to add whatever herbs you might like!


(Terrible lighting there; sorry! But this is the dough with the bbq sauce spread on it.)

If you preheated a pizza stone, transfer the pizza to the stone and bake for 10 - 12 minutes (that's how long my pizzas take anyway!) or until the outer crust edges start to turn a light golden brown. I have preheated my pizza stone before, and I also haven't... It's turned out fine every time, but I guess you should probably do whatever your pizza stone's instructions tell you to do! I have an awesome Pampered Chef stone that my mom gave me. Love it!

Let your pizza sit for a couple minutes before slicing it. Then, ENJOY and try to hold back from eating the entire thing in one sitting. ;)


Below you'll see a slice of the bbq chicken pizza, but what's that on the left, you wonder? Well, it's the other pizza we made the same night! The second pizza was a tasty broccoli, tomato, and goat cheese pizza on Whole Foods white dough. Also super delicious! However, the bbq chicken and sweet potato pizza really stole the show, which is why I decided to share that one with you.


What toppings and flavor combinations do you like best on your own homemade pizza?!

Hope everyone is having a great week so far! :)

Thursday, October 27, 2011

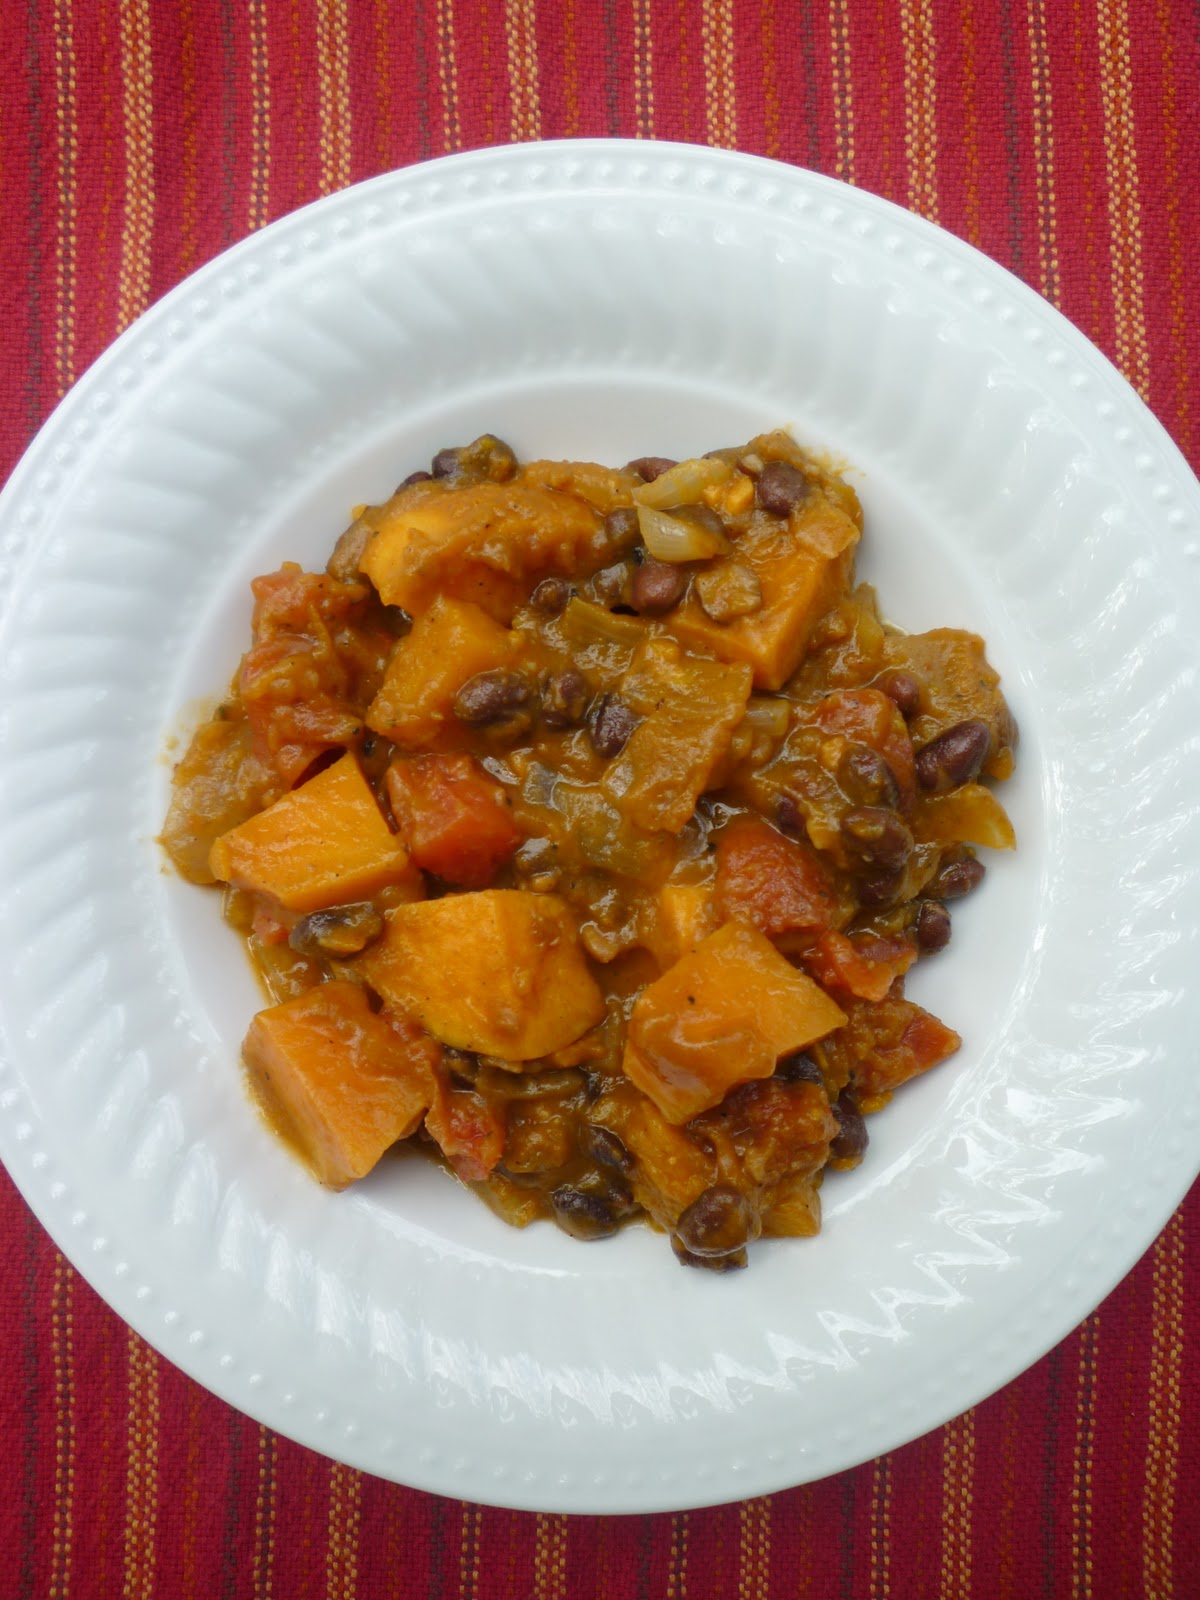
Pumpkin, Sweet Potato, and Black Bean Chili

Deeeelicious. That's the one word I'd use to describe this chili (well, if I had to choose only one word ;-)). If I could use more words (and why can't I?), I'd also use hearty, flavorful, comforting, easy, and healthy.


And it's made with pumpkin beer! Yes, please! The recipe only calls for one cup of beer, which means there's some leftover. And you know what that means...


I found this recipe from a wonderful blog, Healthy Food for Living. I'm feeling lazy this evening so I'm not going to re-type the recipe here (my apologies!). But, please head on over to Healthy Food for Living and read it there. And check out the other great recipes there while you're at it!


I did make a couple changes to the recipe...namely because I didn't have all the exact ingredients on hand. I did not add actual chili peppers, but I had some great dried chili spices that I added. And also, the recipe calls for tomato sauce/puree, but I only had canned diced tomatoes on hand so that's what I used.


I also made some homemade herb drop biscuits to go with this yummy dish. The biscuits turned out fabulously! I was really happy with them. The recipe will be shared with you in the near future...


You have to try this dish! It is totally a keeper of a recipe, and I can't wait to make it again. :)

Monday, September 13, 2010

Yum Yam Smoothie ;-)


Yum Yam Smoothie! I know, it's a bit of a silly name, but the words I've used to describe this smoothie are very appropriate! I almost called it Yummy Yammy Smoothie, which would have been even sillier, wouldn't you agree? :)

My lovely friend Jenn and I had a fun "fall fest" this past weekend where we just soaked up all the amazing sights, sounds, and tastes that come with fall! We began the day with these delicious "yam" (or, sweet potato!) smoothies for which I'm about to share the recipe... Originally, we had intended to make pumpkin smoothies, but neither the store Jenn went to, nor the store I went to, had canned pumpkin! That is tragic, really. :-( I went to a different store today, and they were out too... I don't know what I'll do if I can't find canned pumpkin this fall!

But anyway, back to the delicious smoothie that we did end up making. The lack of pumpkin was actually serendipitous; if we hadn't tried this smoothie with the yams, we would have never known how yummy they can be too!

This recipe served the two of us (in big, tall glasses pictured below!):

-2 cups almond milk
-1 and 1/2 frozen bananas
-1 can (15 oz.) cut yams, drained
-3 to 4 Tbsp. (approx.) of the syrup from the canned yams
-dash of vanilla extract
-dash of cinnamon
-dash of nutmeg
-handful of ice

Blend all of the ingredients, and voila, you have yourself a tasty fall-flavored smoothie! 


This truly was amazing. I am a bit of a big dork when it comes to the fall and how excited I get about it, but really, this was so delicious. I love the light orange color. It almost fools you because it looks like a creamsicle! We put another dash of cinnamon and nutmeg on top of the smoothie before sipping too. It was so refreshing and obviously incredibly healthy too, thanks to the almond milk, sweet potatoes, and bananas! Did you know that cinnamon has some great health benefits too? Check them out here. I actually put a dash of cinnamon in my coffee each morning, which is also quite delicious...just fyi. :)

We also went to a huuuge apple orchard, Russell Orchards, about 45 minutes outside of Boston in Ipswich, MA. It was great! It was definitely the biggest orchard to which I've ever been. They also have a winery, but sadly, Jenn and I were not impressed with the wines we tasted. BUT, they had the best cider donuts I've ever had. No joke! They were absolutely delicious...they were soft, doughy, and had just the right amount of cider flavor. They weren't covered in cinnamon sugar either; they were perfect as is! See?


My next mission is going to be to make my own cider donuts at home... So stay tuned for that! I also have a few other recipes I've made in recent weeks that are just waiting on deck to share with you.

Happy almost autumn, all!

Wednesday, March 17, 2010

Homemade Veggie Burgers & Sweet Potato Fries


Now does that sound like a meal or what? Homemade veggie burgers and sweet potato fries! Yummm. I love trying veggie burgers at different restaurants when I go out to eat, and I've always wanted to try making my own....so, I did just that. :) Although I am not a vegetarian, sometimes I eat like I am one...I just looove my veggies! I was super psyched to make my own veggie burgers at home. And let me tell you, I will be making these again for sure!

The recipe I used was one from a great blog entitled "Oh She Glows," which focuses on maintaining a healthy lifestyle. However, I found out about these veggie burgers through another blog that I've mentioned as of late, Kath Eats. Love this girl! So, Kath had recently made veggie burgers by following the Oh She Glows recipe...and I then did the same. :)

You can check out the recipe at the link I provided above. I will admit that I omitted a couple of the less common ingredients - the chia seeds and the pumpkin seeds. I probably could have found them at the store, but I was lazy and chose not to! I would definitely be interested in trying them sometime though. I also substituted red kidney beans for the chickpeas simply because I happened to have kidney beans on hand but not chickpeas.

The recipe really is sooo simple. Essentially, you prepare your ingredients (cleaning, chopping, etc.), put them all in a food processor, process away, shape the patties, and then bake them! Could it get any easier?! I think not. ;-)  Here are some pictures of the process...


Kidney beans and carrots, followed by other veggies including onions, red peppers, spinach, and cauliflower (the cauliflower wasn't in the original recipe; I added some that I had steamed earlier)...


Time for spices!! I added garlic, basil, and chili powder.


Next, throw it all in the processor!  Love all the bright colors.


Check out how you can still see all the colors of the veggies, even though they're all blended together. Neat! 


Above, you can see the next ingredient, sunflower seeds! These are not processed with the rest of the mixture; rather, you just stir them in.


Now you add some flour (the recipe calls for spelt flour or the flour of your choice). I used whole wheat. Then form the patties!! I halved the recipe, and it made four patties.


I baked mine on parchment paper, but next time I might baked them on a well greased pan. The recipe said you could do either, but a couple of my patties stuck to the parchment just a tad. You can see that in the picture below...the patties didn't burn though, don't worry. The marks on the parchment are just from when I flipped the burgers halfway through the baking.


What should we pair with our veggie burgers?! I know! Sweet potato fries!! These are incredibly easy and very healthy too. Now that's a winning combination. ;-)


All you have to do for the sweet "tater" fries is cut your potatoes in fry-like shapes (I leave the skins on mine), drizzle them in olive oil, and then sprinkle them with whatever spices you'd like (options include rosemary, garlic, chili powder, cayenne, basil, etc.). Bake around 425 degrees for 20 to 25 minutes. Voila! You have yourself some baked "fries"!!


I had my veggie burger plain without any additional toppings other than the tomato slices you see below. I also did not have a bun or bread with my burger... As you can see, I enjoyed a glass of wine with dinner (although, the wine was in a fun beer glass) so I saved my calories for the wine instead of bread. :)


If you're a fan of veggie burgers but have never made your own, or if you generally just enjoy eating healthy foods, I highly recommend you try these... They take no time at all to make and if you usually have fresh veggies on hand like I do, you can make them almost any night of the week! Enjoy, friends! You'll love this meal so much that it will be pretty much gone before you know it...like in this picture here!!