Showing posts with label blueberry. Show all posts

Monday, August 15, 2011

Blueberry Banana Bread


Aloha! We're back from an amaaazing vacation in Kauai. It was tough to return last week, but it's also nice to be back home, of course. I have missed baking in my kitchen! I didn't do one lick of baking while on our trip. We did, however, eat a lot of yummy foods that I'll have to share with you at some point. :)

The day after we returned from our vacation, I took the day off from work to rest and recover (the time change/jet lag from Hawaii to the east coast is a killer!), to get some errands done, and of course...to bake! I made a batch of some delicious maple snickerdoodles, and I tried a new recipe for blueberry banana bread since I had both ripe bananas and blueberries frozen in the freezer, waiting to be used in a baked treat. This recipe is definitely a keeper! It's from the blog, Daily Garnish. I wanted to make several mini loaves to give to people as gifts for various reasons, and this was a great recipe for that. As is, the recipe made 8 mini loaves for me (in my Crate and Barrel mini loaf pan). It makes one 8 x 4 or 9 x 5 loaf if you'd like to make it as one loaf. I changed the recipe just slightly (my ingredients are listed below), and the original recipe is here.

Ingredients:

-1 and 1/2 cups all-purpose flour (you could easily substitute whole wheat flour here! I actually meant to and forgot)
-2 tsp. baking powder
-1/2 tsp. salt
-1/2 cup brown sugar
-1/4 cup sugar
-1 cup ripe, mashed banana (should equal about 2 large bananas)
-1 tsp. vanilla
-2 eggs
-1/2 cup yogurt (I used Dannon light n' fit banana flavor)
-1 cup blueberries (I used some I had frozen; you can also use fresh, of course!)

Instructions:

Preheat oven to 350 degrees. Whisk together the flour, baking powder, and salt in a large mixing bowl. In a separate bowl, mash the bananas with a fork, and add to them the sugars, vanilla, eggs, and yogurt until well combined. Mix the wet ingredients in with the dry ingredients, until just combined. Fold in the blueberries. Pour batter into a greased loaf pan (or several mini pans), and bake for 1 hour (my mini loaves took about 25 minutes; they're tiny!) until the top is lightly golden brown and a toothpick comes out clean.


Delicious and pretty healthy too! This was the perfect recipe to satisfy my baking itch upon our return from vacation...  I was dying to make something but it needed to be easy since I was tired and didn't have a lot of time. Perfection right here in this banana blueberry bread, folks! :)

Monday, June 20, 2011

Strawberry Blueberry Yogurt Muffins


Here I am with another post for you. :) I'm home this evening, RESTING my ankle yet again. But lucky for you, that means another tasty recipe!

During some of my moments of restlessness this past weekend, I chose not to rest (oops) and baked instead. These muffins were a result of one of those times!

The original recipe that inspired these muffins was from the Cookin' Canuck, a blog I recently discovered. Her recipe is for strawberry yogurt muffins; yet, as evidenced by the title of this post, I made them into strawberry blueberry yogurt muffins. Ironically, I bookmarked this Cookin' Canuck recipe last week when our very own Boston Bruins beat the Vancouver Canucks to win the Stanley Cup. Too funny!


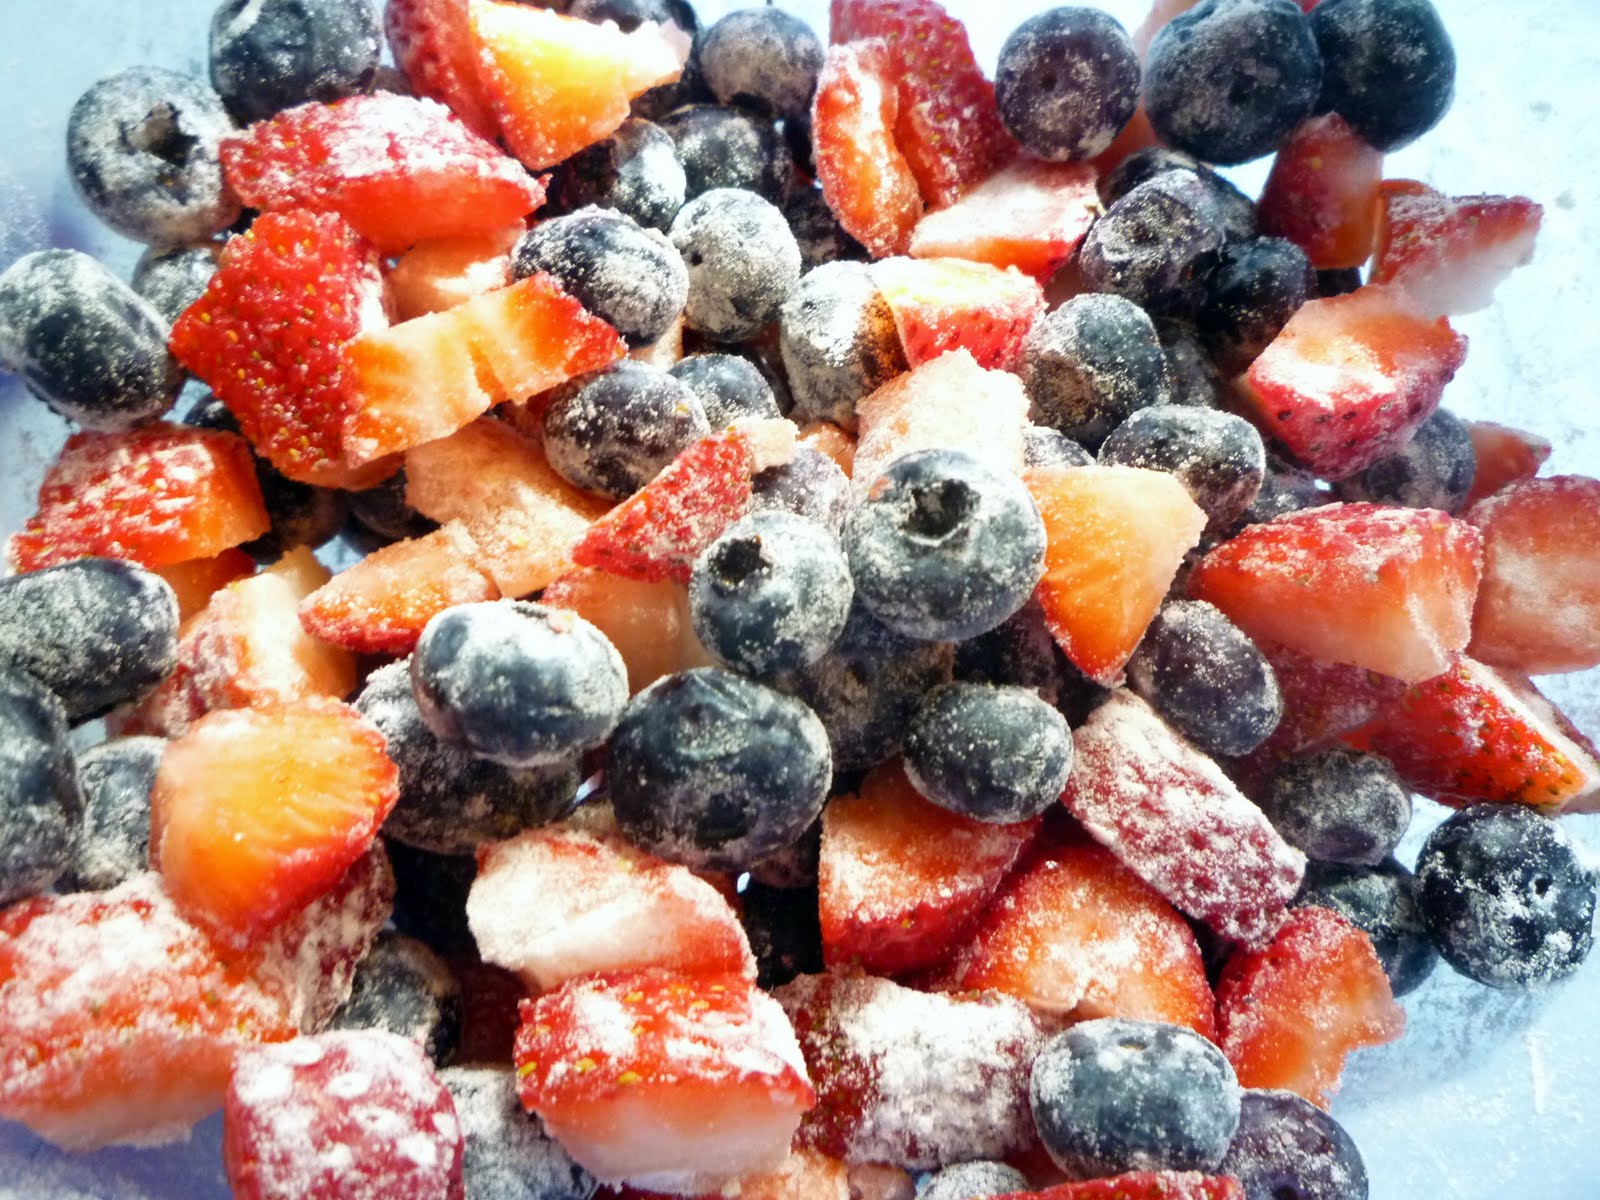
The strawberries I had were fresh, but the blueberries were frozen (I had frozen some fresh ones I bought a couple weeks ago). Oh, and I coated the berries with a little bit of flour before adding them to the batter. That helps prevent them all from sinking to the bottom.

Now, the recipe for you! It differs slightly from the original... In addition to using two kinds of berries, I also made a change of using some white whole wheat flour in place of the all-purpose. I also did not use greek yogurt, but instead I used two different Dannon light n' fit flavors. This recipe was incredibly simple! And the final product was delicious. ;-)

Ingredients:

-2 cups white whole wheat flour (I used King Arthur Flour)
-1 cup all-purpose flour
-1 and 1/2 tsp. baking powder
-1 and 1/2 tsp. baking soda
-1 and 1/2 tsp. salt
-1 tsp. cinnamon
-3/4 cup unsalted butter 
-1 and 1/3 cups granulated sugar
-3 eggs
-1 tsp. vanilla extract
-12 oz. light yogurt (I used half Dannon vanilla & half Dannon strawberry banana flavors)
-1 cup sliced strawberries
-1 cup blueberries


Preheat oven to 350 degrees. In a large bowl, whisk together the flours, baking powder, baking soda, salt, and cinnamon.

With an electric mixer, beat together the butter and sugar until light and fluffy. Add the eggs, one at a time, beating well after each addition. Beat in the vanilla extract.

Turn the mixer on low speed, and alternate adding the dry ingredients with the yogurt, beginning and ending with the dry ingredients. Do not overmix. Fold in the berries.

Coat a muffin pan with cooking spray or line it with paper liners. Fill each cup 2/3 full with the batter. Bake about 15 - 18 minutes, until the muffins are slightly golden brown and a toothpick comes out clean. Cool in the pan for a few minutes before removing to a cooling rack to cool completely.


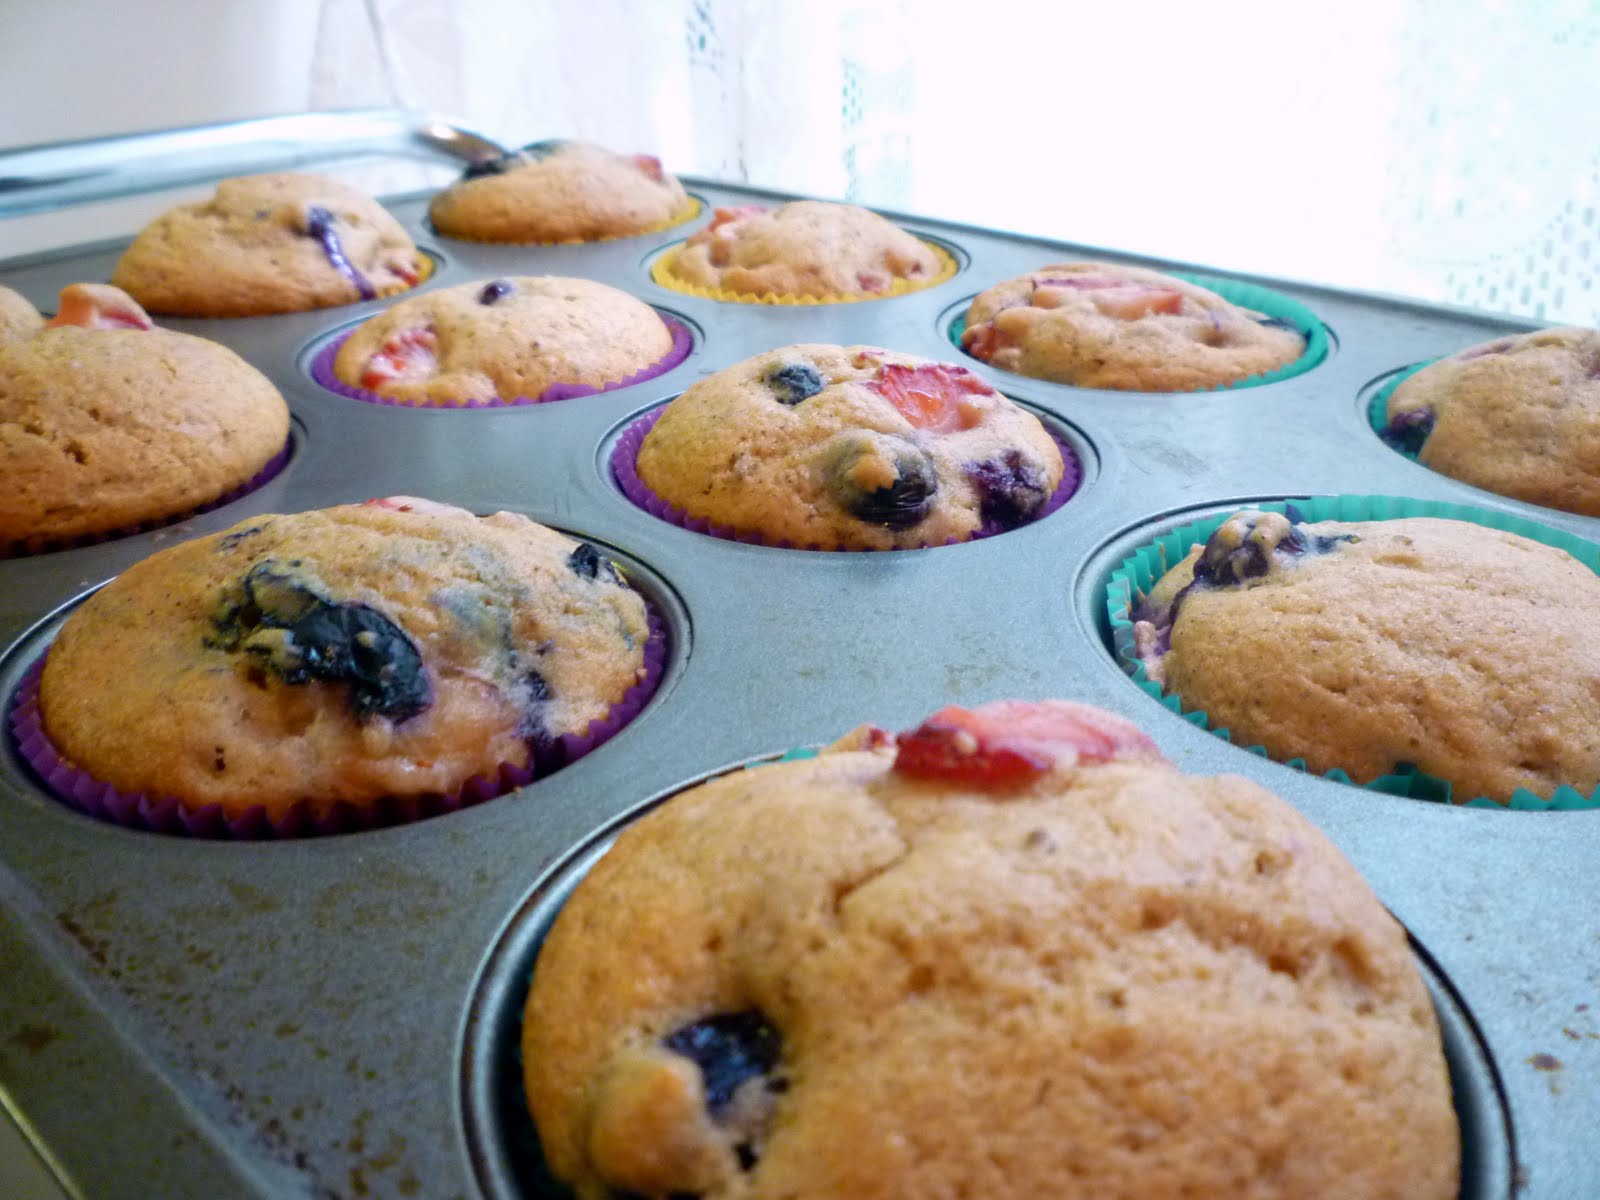
Is there anything better than a delicious, homemade muffin bursting with sweet, juicy berries?!


This recipe made 12 muffins and eight mini loaves for me. That's a lot! I would estimate that each mini loaf is about two muffins worth.


How berry good do these look? ;-)

Wednesday, June 1, 2011

Baked Blueberry Cake Donuts


Mmmm, blueberries. I love when spring rolls around and berries start to be in season. Strawberries, raspberries, blueberries... In the food blog world, I start to see all sorts of "berry good" ;-) recipes on other blogs come spring.

Blueberries were on sale last week so I bough a bunch of them! I considered making blueberry muffins, but those sounded a little boring to me. Don't get me wrong; I love a good blueberry muffin, but I really wanted to try something different. For Christmas, my sister had given me a donut pan that I still had not used as of last week. Although I've bookmarked several donut recipes over the past few months, I hadn't gotten around to making any yet! So, that time finally arrived. I found a great recipe for baked blueberry donuts and I was on my way!

The recipe is from the blog, "Eat Good 4 Life." I adapted it slightly though because I did not have the whole wheat pastry flour called for in the recipe. Apparently pastry flour makes a baked good have a lighter texture. I decided to substitute all-purpose flour and white whole wheat flour for the pastry flour, and the donuts still turned out great in my opinion. If you have pastry flour though, go ahead and use it!


Ingredients:

-1 cup all-purpose flour
-1 cup white whole wheat flour
-1/2 cup sugar
-2 eggs
-1 to 1 and 1/2 cups fresh blueberries
-1 tsp. baking powder
-1/2 tsp. baking soda
-1 cup low-fat milk (I used 1%)
-2 Tbsp. olive oil
-1 tsp. vanilla extract
-1/2 tsp cinnamon

For the sugar coating:

-3 Tbsp. melted butter
-1/2 cup sugar
-1 Tbsp. cinnamon

Instructions:

Preheat oven to 325 degrees. Spray donut pan with cooking spray. In a bowl, mix the eggs, milk, sugar, olive oil, vanilla, and cinnamon. Add flour, baking powder, and baking soda. Whisk until combined. Carefully fold in blueberries (I coated my blueberries in a little bit of flour to keep them from sinking in the batter). Fill each donut hole about 2/3 - 3/4 full.


Bake for 15 - 20 minutes. Cool for about 5 minutes before removing from pan and cooling completely on a cooling rack. In a medium bowl, combine the sugar and cinnamon. In another bowl, place the melted butter. Dip each donut in the melted butter, followed by the cinnamon sugar.

Makes 12 donuts.


I love the different "pattern" of blueberries in each donut.


Butter, cinnamon, and sugar will make just about anything better. :)


Despite not using pastry flour, I thought these donuts were still pretty light and fluffy; they definitely had a cake-like texture to them. The blueberries were plump and juicy and just plain delicious. I would totally make this recipe again! I do think, however, that they tasted best when eaten the same day (or one day later). After a couple days, they lost some of their light, fluffy texture. They were still darn right tasty though.

It was fun trying something different with these blueberry donuts. Trying this recipe has inspired me to try more donut recipes (sooner than later!). Do you have any donut flavors or recipes you'd like to see me try? :)

Tuesday, September 7, 2010

A Tribute to a Tradition: Homemade Pie!!


I have a confession to make. I have never made a homemade pie. Well, that is, until this past weekend, I had never made a homemade pie. Can you believe it??! Many people who know I love to bake find it pretty hard to believe when I tell them (or used to tell them!) I have never made a pie. I figured it was about time to put an end to that! And especially when I have a wonderful mother and grandmother who are amazing pie makers, it's about time I stepped up to the plate too!

You're in for a treat with this post... I'm going to share not one, but two pie crust recipes that my grandmother uses. Consider yourself pretty lucky! ;-)

The first crust recipe is the one I used for the very first pie I made this past Labor Day weekend (pictured above). It is taken verbatim from an email my grandmother sent me with the recipe. :)

-2 cups flour
-1 tsp. salt
-2/3 cups Crisco plus 1 T.
-1/2 cup cold water

Mix together flour and salt. Add Crisco. Mix with fork until crumbly. Add water and mix until it holds together. Chill for 15 minutes or more.

Mom's tip: Mixture will be just right when the dough forms into a ball and clears the bowl.

My hint: I put ice cubes in water and then measure l/2 cup water from that. More water may be added but too much water will make a tough crust.

Please note that this recipe is for one 9-inch crust. So you'll have to double the recipe for a double crust!

And here is recipe #2 from my grandmother, again taken verbatim from her email. :)

-4 cups flour
-1 and l/2 cups Crisco
-l Tbsp. sugar
-l Tbsp. vinegar
-l egg
-2 tsp. salt
-l/2 cup cold water

With fork mix together first four ingredients. In separate dish beat remaining ingredients. Combine the two mixtures until all ingredients are moistened. With hands, mold dough into ball and place in the fridge at least 15 minutes before rolling out. Makes a  9" double crust pie. This is a no-fail pie crust and easier to mold than the first recipe.

There you have a couple "famous" recipes! My grandma's pies are always amazing, so if you try one of these two recipes, I am sure you will be pleased!

Now, my all time favorite pie is, by far, strawberry rhubarb. Mmmmm, SO delicious. I was lucky enough to receive one of my favorite pies from my grandmother for my birthday this summer too! Below are a few pictures of it. I wish these pictures could magically turn into the real thing!! Honestly, this pie is just the best pie ever (especially when made by my mom or grandma!).


I asked my grandma about her strawberry rhubarb recipe, and she says she just follows the recipe on the Tapioca box! Who knew?! I certainly didn't. I bought some Tapioca this past weekend with the intention of making a strawberry rhubarb pie as my first ever pie. However, the store didn't have any rhubarb :-( so I had to improvise. I had some frozen blueberries (hand picked fresh by my mom earlier this summer!), so I decided to use those in my pie. I only had three cups of them though, so I supplemented with one cup of strawberries (four cups of fruit total is what's recommended on the back of the Tapioca box). In fact, I took a picture of the back of the box so you can see what ingredients and proportions are recommended for apple pie, blueberry pie, and strawberry rhubarb. Basically, I am feeling too lazy to write it out for you, so the picture of the recipes on the box is what you get! :)


As I mentioned earlier, for my "berry" pie, I used three cups of blueberries and one cup of strawberries. I added about 3/4 cup of sugar, I'd say, 1/4 cup tapioca, one teaspoon or so of lemon zest, as well as a couple teaspoons of lemon juice. That's it! Oh, and I also put a few very small dollops of butter atop the fruit mixture before baking. I followed the temperature and time instructions listed on the box.

Here are a few more pictures of the Barbershop's inaugural pie during its creation. :) I used the first crust recipe listed above, by the way!


There she is, the finished product!

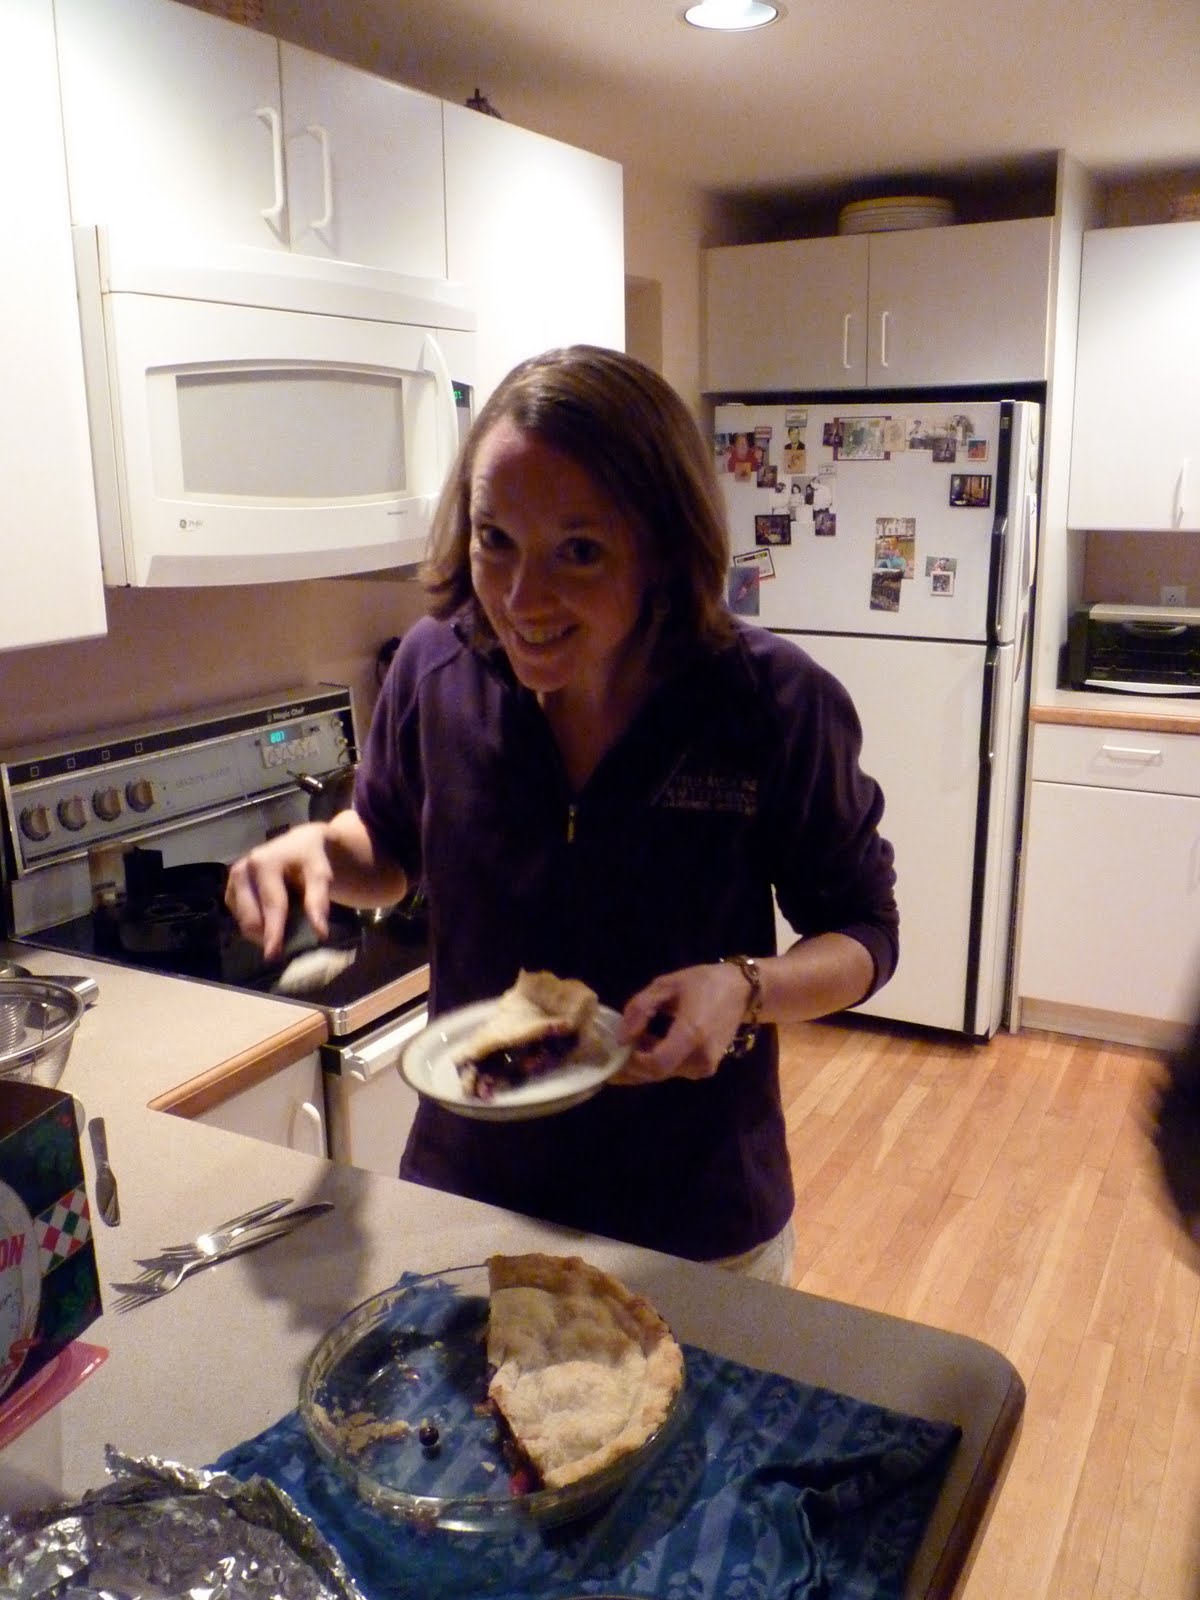
And here I am serving it (not sure about that weird look on my face or why I'm hunched over like that!).

Mike's family were my guinea pigs, as I shared the berry pie with them when we visited them this past weekend for dinner. Unless they were just humoring me (which I don't think they were ;-)), they really liked it! I am definitely encouraged by my first pie making experience and plan to make many more! It wasn't really difficult at all. It was a bit more time consuming than other types of baked goods I often make, but I didn't find it too challenging (for some reason I think there's a myth about pies being hard to make??!).

Also, one more fun tip for you...  Whenever my mom used to make a pie, she'd make these delicious cinnamon sugar pie dough "strips" with the extra dough. Well, I thought they were cinnamon sugar strips, but apparently they were sprinkled with nutmeg, not cinnamon!  So, you can probably use whichever spice (or both) that you'd like. Anyway, I decided to use the extra dough I had from my berry pie to do this. All I did was roll out the dough, cut it into strips (or whatever shapes you'd like!), brushed them with melted butter, and then sprinkled with a cinnamon sugar mixture. Such a fun treat!

 Here is the raw dough with butter and cinnamon sugar, before popping them into the oven. I actually also just learned that my mom didn't brush them with butter either - another inaccurate memory of mine. Oops! You can make them however you please. ;-)

And here there are, fresh out of the oven and ready to be devoured! This is such a great memory of mine from when I was little. I loved when Mom made these for us!!

Well, that's all from the Barbershop this time. Looking forward to sharing more recipes with you soon!