Showing posts with label bread. Show all posts

Monday, January 30, 2012

Pumpkin Cranberry Bread

Happy Monday! Hope everyone had a great weekend and a good start to your week today. Mondays are always tough! You know what might help you get up on a weekday morning? Having some delicious pumpkin cranberry bread waiting for you when you wake up. ;) 


(photo source)

No, that's not my own lovely photo, unfortunately! I didn't end up taking many pictures of this bread, sadly. I made it late at night and just didn't feel like taking the time to take many photos, especially since I was wrapping all of it up to give away and I was somewhat in a rush when I was doing it. My apologies!

I made this bread toward the end of last week, as I wanted to bake something yummy to take home to my family members when I traveled back to NY for the weekend. I hadn't baked with pumpkin for quite some time (not since my pumpkin gingerbread muffins in December!), but that doesn't mean I haven't stopped thinking about my beloved pumpkin. It was high time I paid it the attention it deserves though! This moist, delicious, flavorful pumpkin cranberry bread was the result.

The recipe is from Very Best Baking, but I altered the original recipe slightly. My exact measurements are below, and the original recipe can be found here. I reduced the amount of sugar from 3 cups to 2, added a combination of all-purpose and white whole wheat flour, and reduced the amount of vegetable oil and replaced some of that with a light vanilla yogurt. Oh, and lastly, the original recipe calls for orange juice or water, but instead, I used some cranberry pomegranate juice!

Of note, this recipe does make two loaves, so you can halve the recipe if you'd like. With the ingredients below, I ended up making one 8 x 4 loaf, 8 mini loaves, and two muffins (I made the muffins for Mike and me - someone had to taste test the recipe to be sure it was okay to give away!).

Ingredients:

-2 cups all-purpose flour
-1 cup white whole wheat flour
-2 tsp. cinnamon
-1 tsp. nutmeg
-1/2 tsp. cloves
-2 tsp. baking soda
-1 and 1/2 tsp. salt
-2 cups sugar
-1 can (15 oz). pumpkin
-4 eggs
-1/3 cup vegetable oil
-6 oz. light yogurt (I used vanilla)
-1/2 cup cranberry pomegranate juice
-1 cup dried cranberries (I used pomegranate flavored craisins)


(Apparently, with this recipe I was really into supporting Ocean Spray, and in particular, their cranberry pomegranate flavored products! Too funny.)

Instructions:

Preheat oven to 350 degrees. Grease the pans you're planning to use, or place liners in muffin pan. Combine flours, spices, baking soda, and salt in a large bowl. Combine sugar, pumpkin, eggs, oil, yogurt, and juice in a large mixing bowl, and beat until well blended. Add the flour mixture to the pumpkin mixture, and beat until well-incorporated. Fold in cranberries. Spoon batter into prepared pans.

Bake loaf pans for 50 to 60 minutes or until a knife or cake tester comes out clean. Bake muffins for 15 to 20 minutes. Let loaves cool in pans for 10 minutes before removing to cool completely on wire rack. Let muffins cool in pan for 3 or 4 minutes before removing to cool completely on wire rack.


Such cute lil' mini loaves!

I enjoyed my muffin served warm. Sooo good! One thing I might try differently the next time I make this recipe is to toss the dried cranberries in some flour before adding them to the batter. They did not all sink to the bottom of the loaves or muffins, but they also didn't seem to be distributed evenly from top to bottom in the loaves. In the end, no big deal though! But perhaps tossing the cranberries lightly in flour would help with that. Also, I think this recipe could be made without an electric mixer. It seemed easy enough to mix by hand, I think!

Be back again soon. :) Next time, I will have a crock pot dinner recipe to share involving another favorite orange ingredient of mine - butternut squash!

Sunday, October 23, 2011

Apple Cider Bread

Alright alright, I'll stop with the pumpkin recipes for a little bit (but not for long!) and give you another tasty fall treat. Apple cider bread!


For the past few weeks, I've made a point to always have some apple cider in my fridge. It's such a nice treat to have every now and then... I heat a mug full, add some cinnamon, and sit down to relax. There is something very calming about warm apple cider, wouldn't you agree? :)

Well, there is also something calming about this apple cider bread. I found this bread to be incredibly moist and full of flavor. I brought in a mini loaf for one of my coworkers, and after she tried some, she sent me an email saying "I just died and went to heaven." That's quite the compliment to this recipe, I'd say!

I got the recipe from Recipe Girl. She has some amazing recipes! Check out her site.


Isn't this a super cute pan? I used it for the first time with this recipe and made a few fall-shaped "loaves." So fun!

Ingredients:

-2 cups all-purpose flour (I used 1 cup AP, 1 cup white whole wheat flour)
-1 tsp. baking powder
-1 tsp. salt
-1 tsp. baking soda
-1 tsp. ground cinnamon
-1/2 tsp. ground cloves
-1/4 cup butter, at room temp
-2/3 cup granulated sugar
-1/3 cup light brown sugar, packed 
-2 large eggs
-1/2 cup apple cider
-2 and 1/4 cups apples, peeled and chopped
-1 Tbsp. freshly squeezed lemon juice


Instructions:

Preheat oven to 350 degrees. Grease and flour an 8 x 5 loaf pan. Sift dry ingredients in a medium bowl (flour through cloves). In a large bowl, use an electric mixer to combine the butter and sugars. Beat in eggs. Add in the flour mixture, alternating with the cider, and mix until just combined. In a small bowl, toss the apples with lemon juice. Stir the apples into the batter. Put batter into prepared pan and bake for 50 to 60 minutes, or until a toothpick inserted in the center comes out clean. Let cool in pan for at least 20 minutes before removing and letting cool completely on rack. Enjoy at room temp or warm (yum!).


Cute lil' acorn, pumpkin, and leaf loaves :)


I made about four regular mini loaves as well.


This bread just bursts with great fall flavors. It's a keeper of a recipe, for sure.

Monday, August 15, 2011

Blueberry Banana Bread


Aloha! We're back from an amaaazing vacation in Kauai. It was tough to return last week, but it's also nice to be back home, of course. I have missed baking in my kitchen! I didn't do one lick of baking while on our trip. We did, however, eat a lot of yummy foods that I'll have to share with you at some point. :)

The day after we returned from our vacation, I took the day off from work to rest and recover (the time change/jet lag from Hawaii to the east coast is a killer!), to get some errands done, and of course...to bake! I made a batch of some delicious maple snickerdoodles, and I tried a new recipe for blueberry banana bread since I had both ripe bananas and blueberries frozen in the freezer, waiting to be used in a baked treat. This recipe is definitely a keeper! It's from the blog, Daily Garnish. I wanted to make several mini loaves to give to people as gifts for various reasons, and this was a great recipe for that. As is, the recipe made 8 mini loaves for me (in my Crate and Barrel mini loaf pan). It makes one 8 x 4 or 9 x 5 loaf if you'd like to make it as one loaf. I changed the recipe just slightly (my ingredients are listed below), and the original recipe is here.

Ingredients:

-1 and 1/2 cups all-purpose flour (you could easily substitute whole wheat flour here! I actually meant to and forgot)
-2 tsp. baking powder
-1/2 tsp. salt
-1/2 cup brown sugar
-1/4 cup sugar
-1 cup ripe, mashed banana (should equal about 2 large bananas)
-1 tsp. vanilla
-2 eggs
-1/2 cup yogurt (I used Dannon light n' fit banana flavor)
-1 cup blueberries (I used some I had frozen; you can also use fresh, of course!)

Instructions:

Preheat oven to 350 degrees. Whisk together the flour, baking powder, and salt in a large mixing bowl. In a separate bowl, mash the bananas with a fork, and add to them the sugars, vanilla, eggs, and yogurt until well combined. Mix the wet ingredients in with the dry ingredients, until just combined. Fold in the blueberries. Pour batter into a greased loaf pan (or several mini pans), and bake for 1 hour (my mini loaves took about 25 minutes; they're tiny!) until the top is lightly golden brown and a toothpick comes out clean.


Delicious and pretty healthy too! This was the perfect recipe to satisfy my baking itch upon our return from vacation...  I was dying to make something but it needed to be easy since I was tired and didn't have a lot of time. Perfection right here in this banana blueberry bread, folks! :)

Tuesday, March 15, 2011

Irish Soda Bread Scones (and other St. Patrick's Day Recipe Ideas!)


Guess what? My last post, Quinoa with White Beans and Veggies, was my 100th post here at the Barbershop! Silly me, I did not realize that as I was creating that post for you all to read; otherwise I would have said something then! I can't believe I've written that many posts for you here at the Barbershop. Wow!

Anyway, onto my 101st post. ;-) This recipe is simply a minor twist on a recipe I shared with you last year. About a year ago, I made Traditional Irish Soda Bread for St. Patrick's Day. I wanted to make soda bread again this year because I love it, but I didn't want to do the same ol' thing. So what did I do? Something simple! I just made Irish soda bread scones instead of a loaf of bread. :)

The actual recipe I followed was the same recipe from the Barefoot Contessa that I used last year. To make scones instead of bread, I kneaded a handful of dough at a time instead of the entire loaf and then shaped each piece of dough into a circle and placed it on parchment paper. Just as when I made the regular loaf, I used a knife to score a criss-cross shape on the top of each scone before baking. Out of one batch, I made seven decent-sized scones (each was probably worth two servings!). 


I believe these took about 20 - 25 minutes to bake. To be completely honest, I did not time the baking! Oops. I just checked on them every now and then until they were slightly golden brown, as you can see below. Perfection!


I really enjoyed making Irish soda bread this way; I think I'll be doing it again, for sure! In fact, I've already made two batches of these scones so far this St. Patty's Day season. ;-)


These cute little scones are so easy to give away to others, especially when giving to just one or two people at a time who can't eat a whole loaf themselves. I tend to give away most of my baked goods, so making them into serving sizes that are easy to give away is great!


I typically enjoy soda bread plain, either "as is" or toasted (would recommend toasting it if you can!). Every now and again I'll have it with butter or jam too. For the sake of the blog and showing the bread with butter, I made the sacrifice of enjoying some butter on a couple small slices. Yummm.


No flash...


Flash!

Are you wondering what else to make for St. Patty's? Well, there's always shamrock-shaped sugar cookies,


or perhaps a healthy GREEN monster smoothie.


I'd also like to refer you to a blog that I LOVE, Brown Eyed Baker. She has some amazing ideas for St. Patty's recipes including Guinness milk chocolate ice cream, Irish car bomb cupcakes, Irish brown bread (she also has different recipes than I used for soda bread and scones), beer waffles, and many more! The Brown Eyed Baker is a genius. Go visit her site! Oh, and don't forget your boiled dinner of corned beef and cabbage!


For a nightcap, how about making your own homemade Bailey's irish cream liqueur? I stumbled upon this recipe this week, and it looks very do-able to make at home!

May the luck o' the Irish be with you this week, and I'll talk to y'all soon!

Sunday, January 9, 2011

Homemade Tomato Soup with Garlic Twist Breadsticks


Welcome back to the "shop." ;-) I've got another super simple recipe for you here for homemade tomato soup. In fact, this recipe would pair well with my last post about English muffin bread! However, you may be able to tell from the title of this post that I served this soup with some breadsticks when I made it last week. :) Maybe next time I'll go for the soup and English muffin bread pairing! Or even better yet, soup and a homemade grilled cheese sandwich made with the English muffin bread...

The colder, winter months in New England make me think more about soups and stews, and I always love a bowl of classic tomato soup! This recipe must be one of the easiest soups to make at home. It calls for just six ingredients, two of which are olive oil and salt, which barely count as ingredients...right? ;-) The other four ingredients are garlic, canned tomatoes, chicken broth, and basil. This soup could easily be made into a vegetarian recipe too by substituting vegetable broth for the chicken broth. I didn't actually add the salt to this recipe because I figure the broth adds enough salt on its own (even if the broth is low sodium). And besides, if someone wants more salt, they can just add it to their own bowl of soup!

Start to finish, this takes about 30 to 35 minutes or so...and 20 minutes of that is just letting the soup simmer on the stove! The other preparation time involves cooking the garlic on the stove top in the beginning and then pureeing the soup at the end. That's all, folks! Oh, and guess what else is great about this recipe? It's very low-calorie! One serving (which equals 1 and 1/2 cups of soup) is just 103 calories and 2.8 grams of fat. Check out the recipe, instructions, and the rest of the nutrition stats here

Would you like to see some pictures? I thought so!


The ingredients minus the broth!


Garlic, cooking on the stove in olive oil... (by the way, I just used garlic that I sliced/chopped; the recipe calls for minced garlic, but it all gets blended in the end anyway, so it really doesn't matter, I say!)


Tomatoes and broth!


Tomatoes, broth, and garlic!


Blending time :-D


There's the final product! I blended the soup in two batches and poured it into this nice, big glass bowl after it was pureed to the consistency I wanted.


I added some shredded mozzarella on top for a treat. ;-)

Are you wondering how I made the garlic twist breadsticks?! Well, let me tell you! Or, you can also read it here on Pillsbury's website since I semi-followed this recipe.


I started out with Pillsbury crescent rolls (bought them on sale with a coupon!).


I mixed together some olive oil, pepper, garlic powder, and a bit of parmesean cheese (sorry, I didn't really measure how much of each!).


The dough will be in four rectangles. Brush each with the olive oil and spices mixture.


Cut each rectangle in half so you have eight pieces...


...and then twist each one!


Bake at 375 degrees for about 12 - 15 minutes (mine were done after 10 minutes though, so check them early!).


Finally, dunk your tasty breadstick in your delicious tomato soup. ;-)

See you again soon!

Monday, January 3, 2011

Homemade English Muffin Bread


Hello and Happy New Year from the Barbershop! I hope your 2011 is off to a great start so far. You know what would make an even better start to 2011? If you try this English muffin bread! ;-)

This is a delicious recipe I got from my boyfriend Mike's mother, Linda. Mike wanted to make this bread to give to my parents over the holidays, and I happily joined him to make it. What can I say? I can't resist time in the kitchen that's devoted to baking! :)

Here's the super simple recipe for you:

-5 and 1/2 to 6 cups of flour (all-purpose or a combination of all-purpose and whole wheat)
-2 packages active dry yeast (equal to 4 and 1/2 tsp.)
-1 Tbsp. sugar
-2 tsp. salt
-1/4 tsp. baking soda
-2 cups milk (probably any kind will do! we used skim)
-1/2 cup water
-cornmeal

Combine 3 cups of flour, yeast, sugar, salt, and baking soda. Heat the liquids (milk and water) until warm (about 120 to 130 degrees). Add liquids to the dry ingredients and mix well. Stir in enough more flour to make the dough stiff (you may mix by hand with a spoon or spatula, or you can use a food processor; if you use the food processor, there's no need to knead the dough - haha, need to knead - but if you mix by hand you should knead the dough too). Prepare two loaf pans (9 x 5 or 8.5 x 4.5) by greasing with cooking spray and sprinkling with cornmeal. Put the dough in the prepared pans, and cover and let rise in a warm place for at least 45 minutes. Bake in a preheated oven at 400 degrees for 25 minutes. Remove from pans immediately and let cool. Slice, toast, and enjoy!!

A few points of note from when Mike and I made this recipe... Total, we probably only used about 5 cups of flour, and we used a combination of all-purpose and wheat flours. We mixed the dough with a spoon by hand and it wasn't difficult at all! Finally, our bread was done after just 20 minutes, so I'd recommend setting your oven timer to 20 minutes and checking it then even though the recipe calls for baking it for 25 minutes.

Picture time!


Chef, er... Baker, er... Santa Mike!


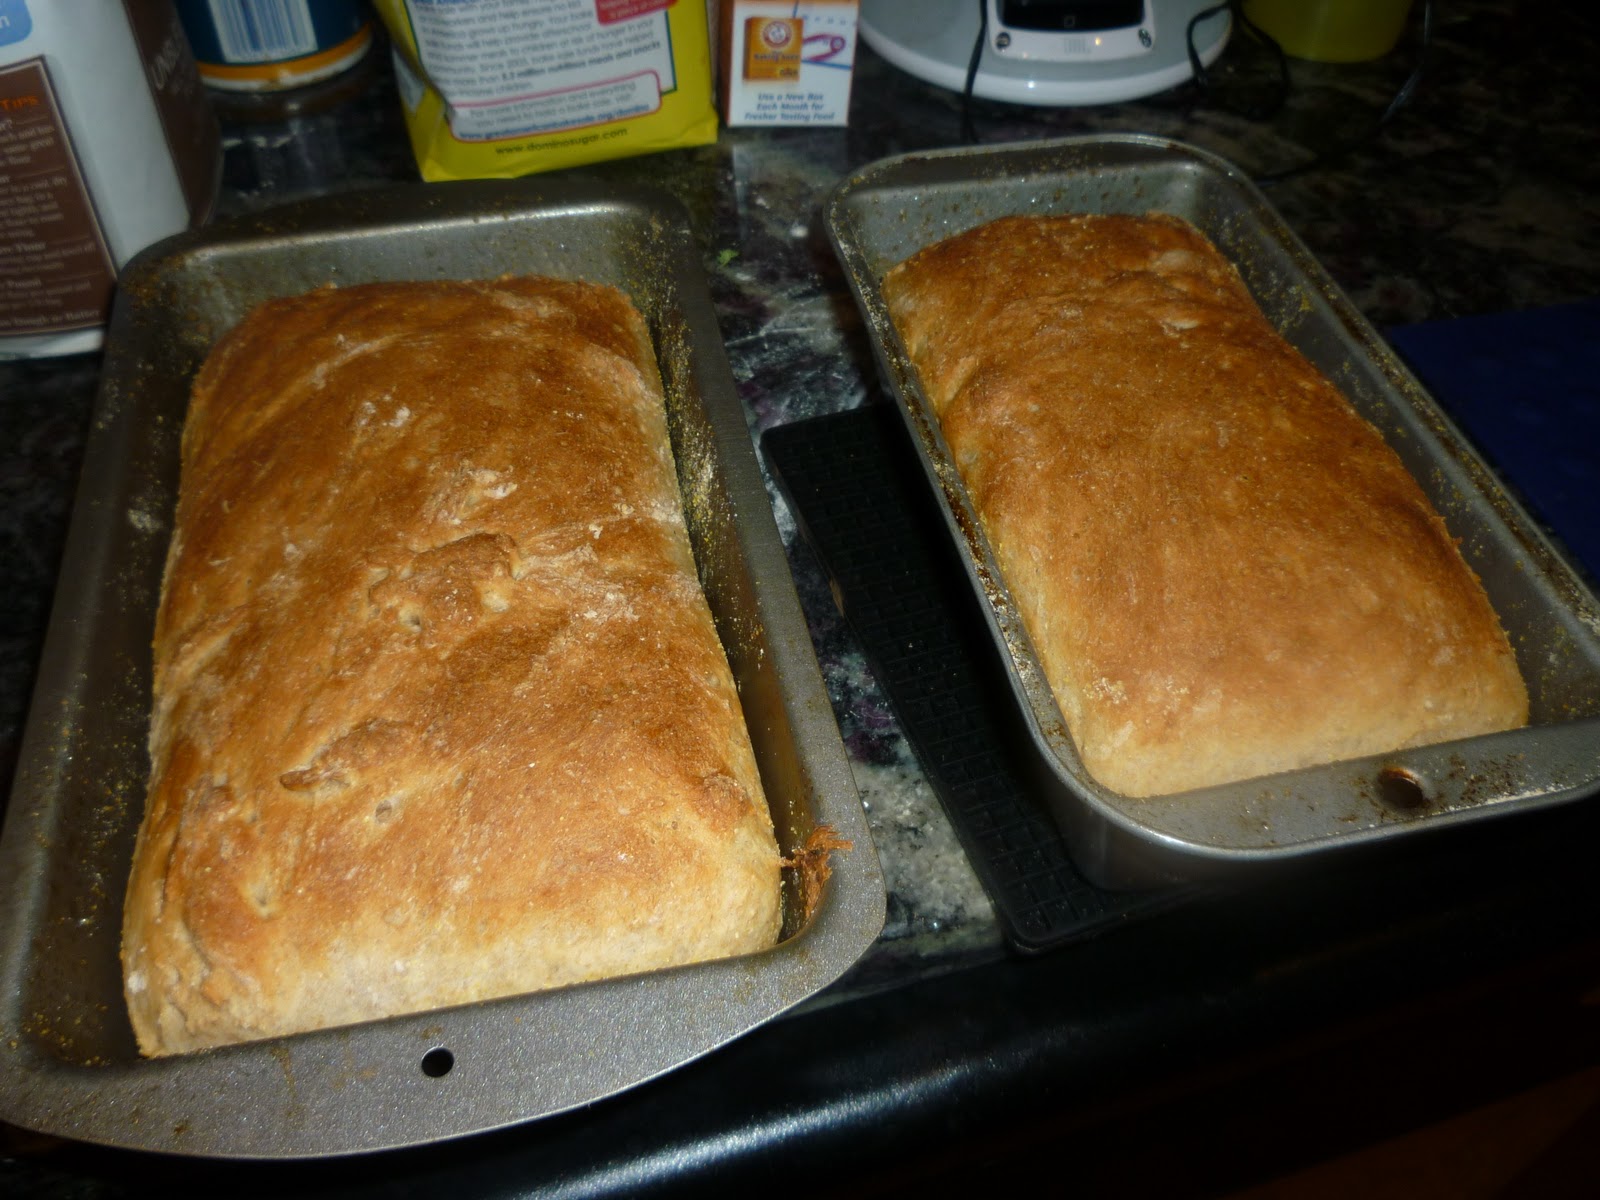
The "risen" dough, ready for the oven!


Nice golden brown color!


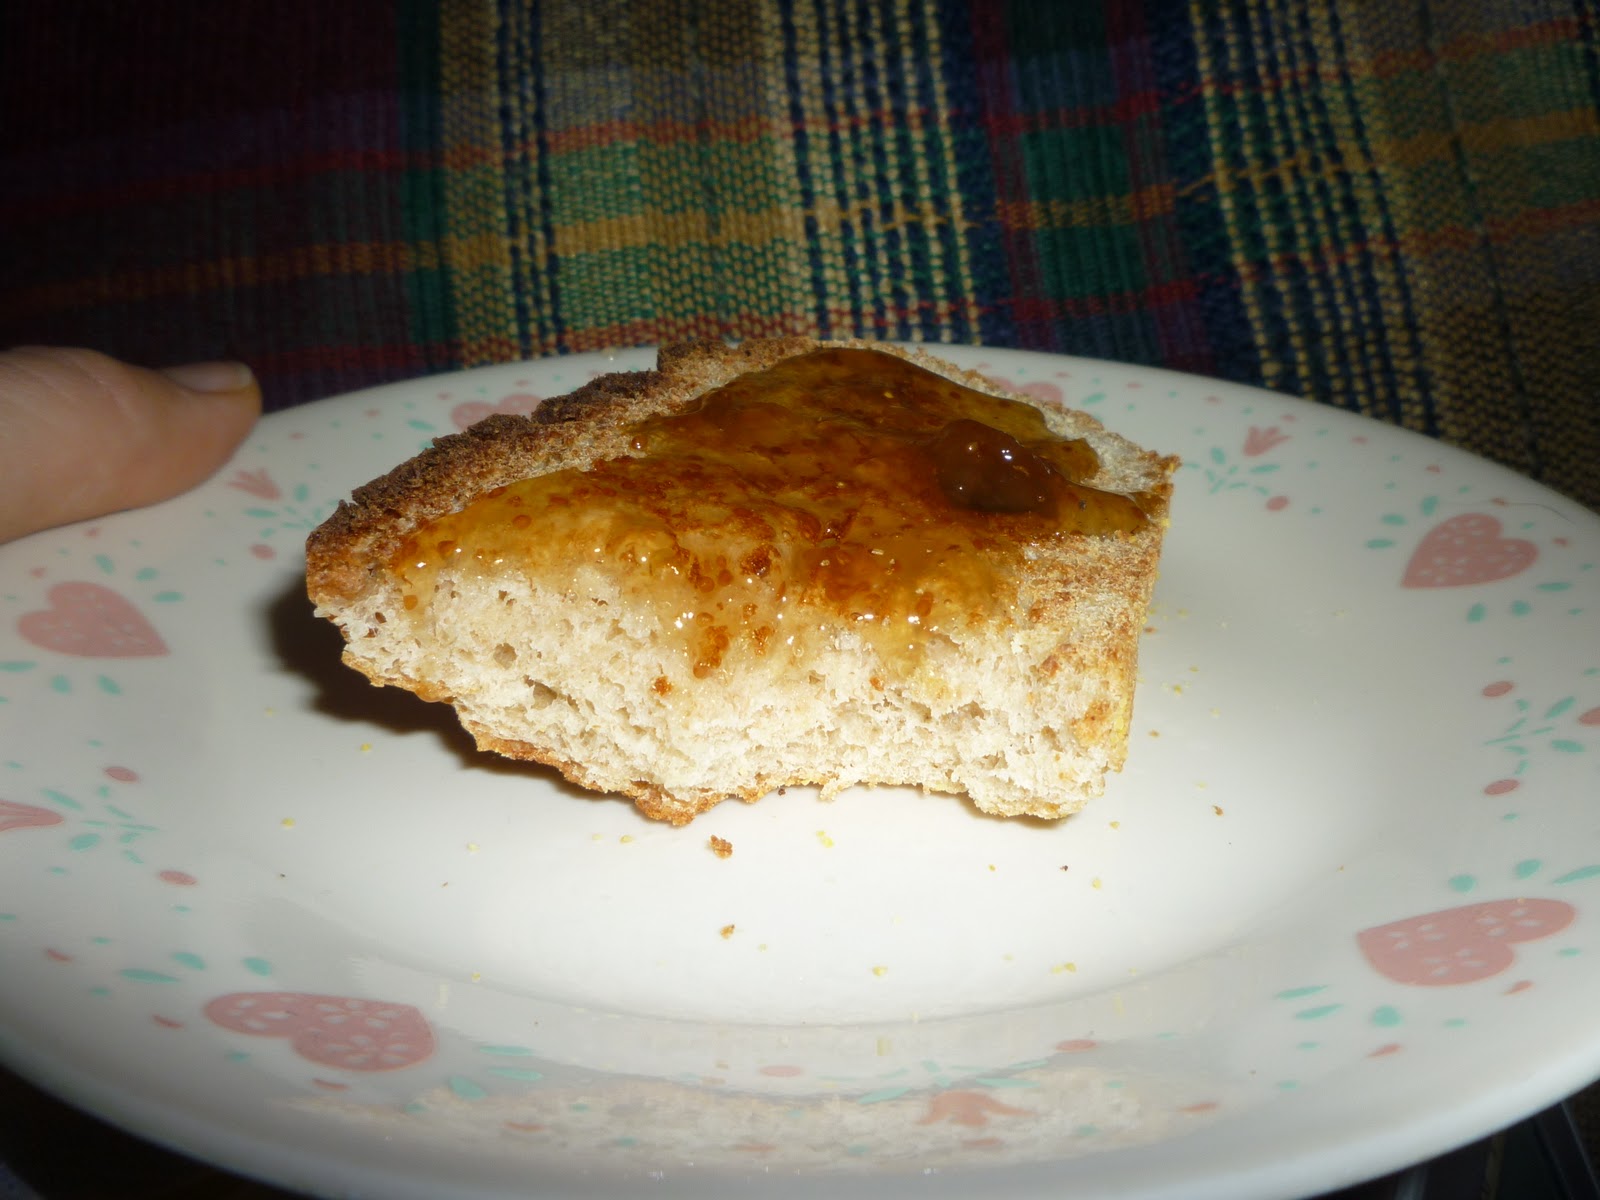
Oh my gosh, sooo good.

You have to toast this bread...it's a must! I like that it has all the nooks and crannies of actual English muffins too. :) I enjoyed this bread toasted with margarine, jam, and peanut butter (not all at once though!). It was yummy with each one of those toppings!! It's such an easy yeast bread that takes no time at all. Ya gotta go try it. ;-)