
I love the look of these bars! Fortunately, it doesn't really take much effort to make them look so pretty. ;-) The creme de menthe liqueur is really the key to making them look good. The liqueur does "all the work" by making the middle layer a very pretty green color.


Now, onto the recipe...
The bottom brownie layer recipe can be found here. And just so you know, this basic brownie recipe is my favorite from scratch brownie recipe...just sayin'...it makes some tasty brownies!


When I made the brownies I also added some chopped thin mints for an extra mint taste. Mmmmmm. LOVE chocolate and mint!

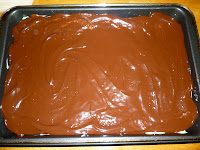
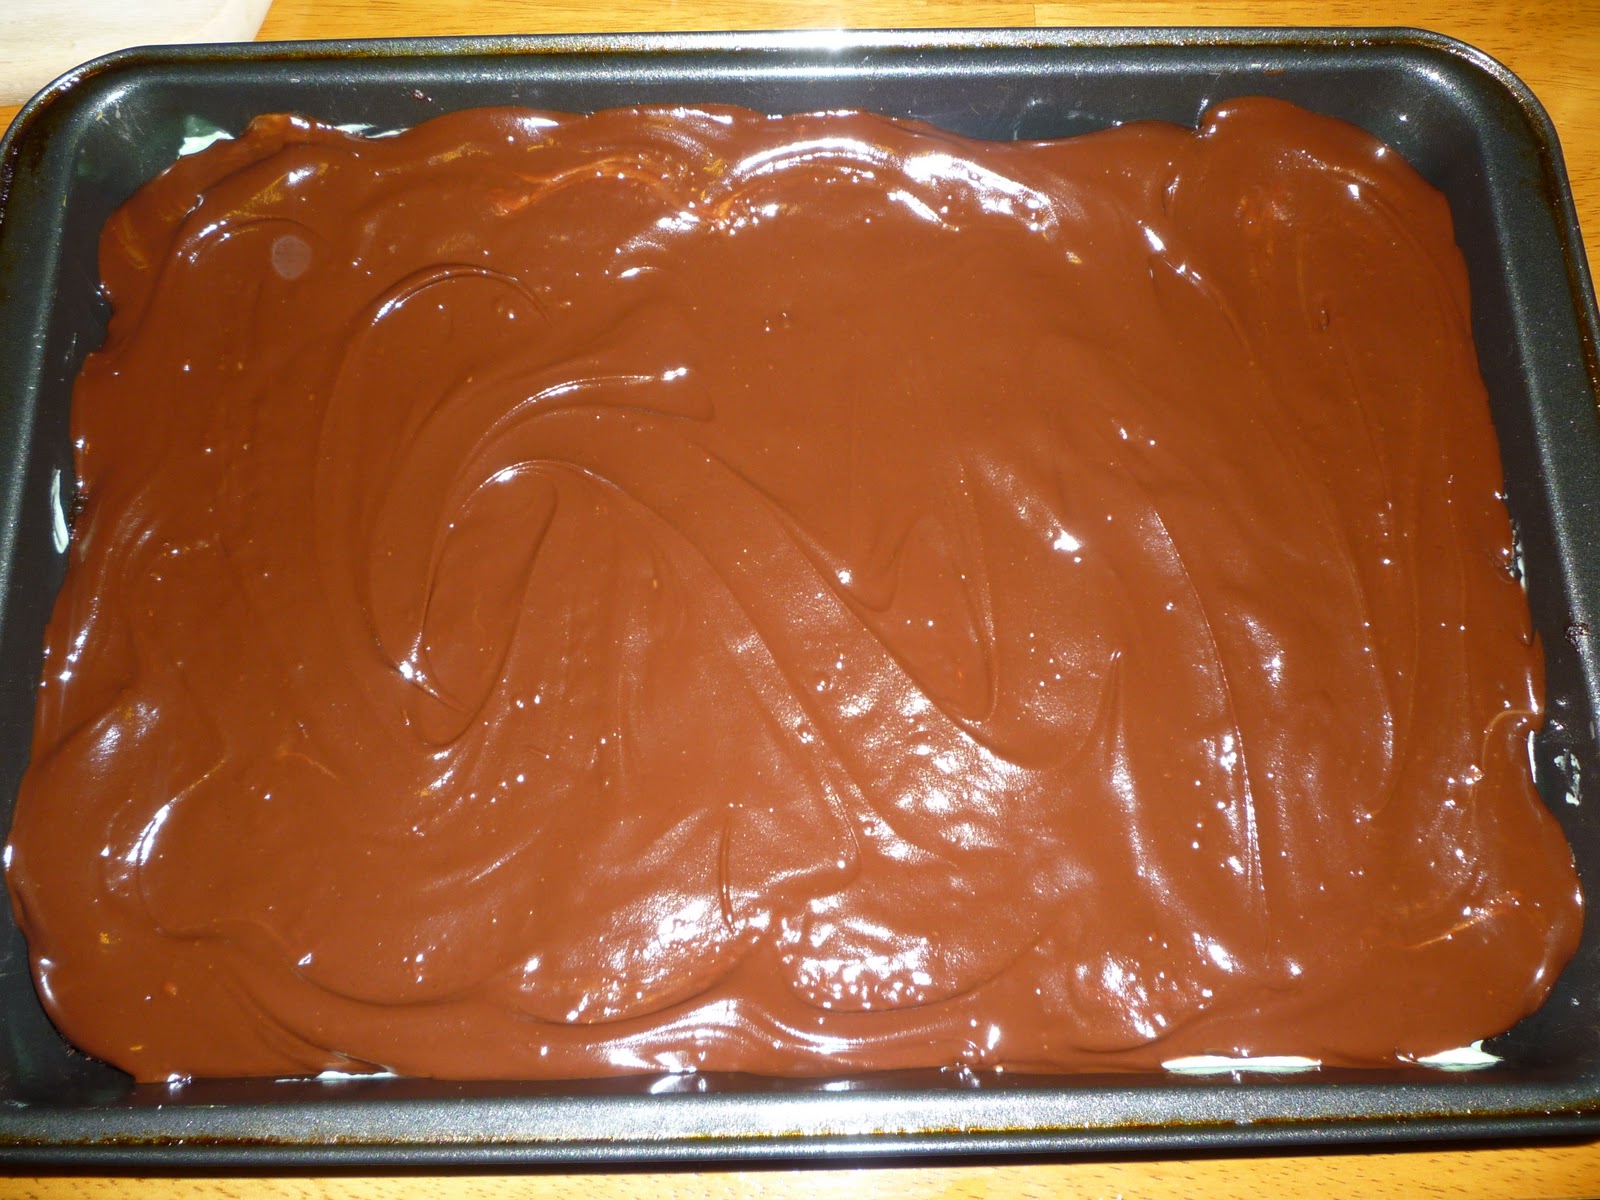
After you've baked the brownies, let them cool as you work on the middle layer...the pretty green layer!
Here is the mint layer recipe:
-2 cups powdered sugar, sifted
-4 Tbsp. butter, softened
-1 Tbsp. milk
-5 Tbsp. creme de menthe (approximately)
-Combine all the ingredients and beat with an electric mixer until light and fluffy. You may want to taste as you go and add more creme de menthe, if needed... It's important for quality control to taste test along the way, you know. :)


Make sure that the brownies are cooled completely before spreading the mint layer on top of them. Once the mint layer is evenly spread, I'd recommend putting the pan in the fridge to let it cool even more while you prepare the final layer. For the final layer, microwave about 1 cup of semi-sweet chocolate chips (or dark chocolate, if you prefer) and 6 Tbsp. real butter at 30-second intervals until the mixture is smooth and the chips are completely melted. Set the mixture aside for a few minutes to let it cool before spreading it. When you're ready to go ahead and spread the chocolate layer though, move quickly. Put the bars back in the fridge to completely cool one more time and then voila, you're done!


Well, you're done if you want to be... You could also do one more step and add some Andes mints to the top of the bars to make them look even more festive. I cut each Andes mint into quarters, as you can see below, and placed one on each bar. Unfortunately, I didn't think about doing this until the top chocolate layer of the brownies was completely cool...so I had to "force" the mints to stay on each bar. But it still worked! Next time I think I'd put the Andes mints on top before the chocolate cools and hardens.

These were a big hit at Mike's parents' anniversary party! I also brought some into my coworkers, who gobbled them down as well. Deeelish. I WILL make these again, you can be sure of that! You should try them too!

Talk to you again soon. I have a few fall-themed recipes for you!!!!!! LOVE the fall.
No comments:
Post a Comment