Showing posts with label brownie. Show all posts

Tuesday, March 13, 2012

Cookies & Cream Brownies


I'm pretty sure that my coworkers have a love/hate relationship with me. Once every week or two, I bring in some sort of baked goodie to the lab "just because." I'll bake for coworkers' birthdays and special occasions too (as I've mentioned on the blog multiple times!), but sometimes, just because, I'll make something to bring to work. It really all comes down to the fact that I just love baking and even if I don't have a particular occasion to bake for, you'll still find me in my kitchen baking a delectable batch of cookies, bars, or cupcakes. And then I bring them to work. And that's where the love/hate relationship happens.

When my coworkers see me coming toward them with a big tupperware full of treats in the hours after lunchtime, they love me. They've just finished lunch and are craving something sweet. Don't you worry; it's the Barbershop to the rescue for your afternoon sweets craving! But then, as they're taking that cookie or brownie from the tupperware, they're mumbling "Oh Colleen, why do you do this to us? I'll have to work out longer at the gym tonight." And that's where the "hate" part of the relationship comes into play.

Sorry, guys. I just love to bake and you can't stop me. :)


The two products pictured here went into these cookies and cream brownies - Heads or Tails Oreos and Hershey's Cookies n' Creme Eggs (which are only around at Easter time!).


You may remember these Oreos back when I made Oreo Stuffed Chocolate Cupcakes. I had yet to finish the package of Oreos (I know; what's wrong with me?!), so I decided to chop them up and put them into brownies. Obviously.


And I also just happened to have on hand these delightful little cookies and cream flavored egg-shaped candies. So, again quite obviously, I chopped those up to put in the brownies too. And that's how this new creation of cookies and cream brownies was born!


And then I brought these babies to work.

Uh oh.


Ingredients:

-1 cup semi-sweet chocolate chips
-1/2 cup (1 stick) unsalted butter
-3 large eggs
-1 and 1/4 cups all-purpose flour
-1 cup granulated sugar
-1 tsp. vanilla extract
-1/4 tsp. baking soda
-10 Oreos, chopped (can be any flavor you'd like)
-24 Hershey's cookies n' creme eggs, divided into two groups (16 eggs and 8 eggs) and chopped

Instructions:

Preheat oven to 350 degrees. Grease a 13 x 9 baking pan. Chop the Oreos into 1/4 to 1/2-inch sized pieces (I usually got about 6 to 8 small pieces out of each Oreo). This should yield approximately 1 cup of chopped Oreo pieces (and make sure to use every last crumb of the Oreos!). Next, chop the first group of 16 Hershey's eggs into pieces. This will be a little trickier, and there's no strict measurement for how big these pieces will or should be. Just chop them however you'd like them! Set those 16 chopped eggs aside (this should equal about 3/4 to 1 cup). Finally, chop the remaining 8 eggs and set aside to sprinkle on top of the brownie batter just before baking.

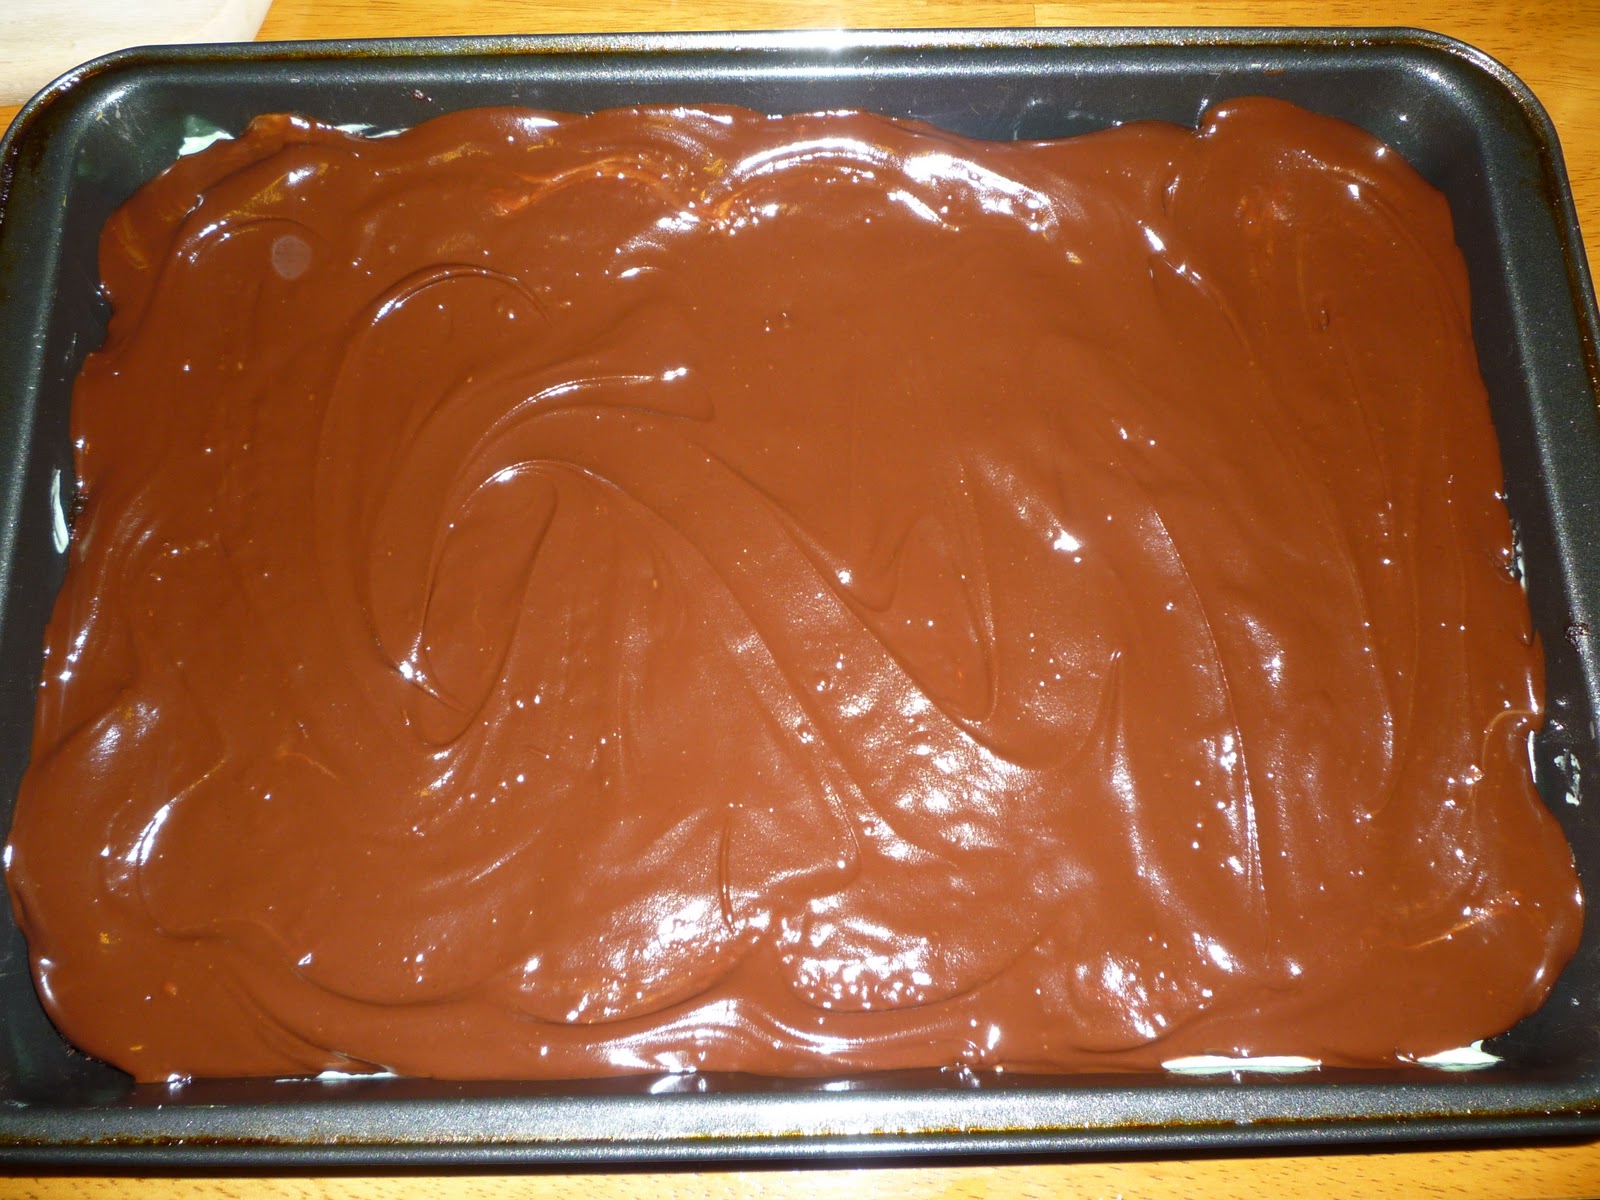
Melt the 1 cup of chocolate chips and stick of butter over low-medium heat on the stove in a heavy duty saucepan (I use a 2-quart pan with this recipe). Stir the chocolate and butter until smooth. Remove from heat and stir in the eggs. Add the flour and mix well, followed by the sugar. Again, stir well and then add the vanilla and baking soda, mixing well. Next, stir in the chopped Oreos and the group of 16 chopped Hershey's eggs. Spread batter evenly into the prepared pan, and sprinkle with the remaining 8 chopped eggs.

 Bake for 18 - 22 minutes, or until a toothpick inserted into the center comes out clean. Cool completely and cut into bars. Makes approximately 24 - 30 bars, depending on the size of the bars that you cut.


Ooey gooey cookies and cream chocolatey brownie deliciousness. :)


The Oreos definitely added a slight crunchy texture to the brownie. And the Hershey's eggs plus the cream filling of the Oreos added that creamyness to truly make these cookies and cream brownies.


Now, tell me your opinion. Is it cream or creme?! I have no idea and feel like I've seen it both ways, so I just went with cream.

Either way, cream or creme, these brownies taste the same (you know, amazingly delicious) and that's all that matters.

:)

Monday, May 30, 2011

Peanut Butter Swirl Brownies


Peanut butter and chocolate. It's a match made in heaven. I know plenty of other people have used that same phrase to describe peanut butter and chocolate, but heck, I'm going to use it nonetheless. :)


These brownies are a combination of a couple recipes... The peanut butter swirl part is from my Martha Stewart Cookie book that I've mentioned in the blog several times (including recently when I made these surprise cookies!). And the "base" brownie recipe is my go-to from scratch brownie recipe that is so super simple and delicious. It's from Nestle and I use it all the time when I need to whip up a quick batch of brownies!

Brownie Ingredients:

-2 cups semi-sweet chocolate chips
-1/2 cup (1 stick) unsalted butter
-3 eggs
-1 and 1/4 cup all-purpose flour
-1 cup granulated sugar
-1 tsp. vanilla extract
-1/4 tsp. baking soda

Peanut Butter Swirl Ingredients:

-4 Tbsp. unsalted butter, melted
-1/2 cup confectioners' sugar
-3/4 cup smooth peanut butter
-1/4 tsp. salt
-1/2 tsp. vanilla extract

Instructions:

Preheat oven to 325 degrees. Butter a 13 x 9-inch baking pan and line with parchment, allowing a 2-inch overhang. Butter the parchment lining.

For the brownies, melt 1 cup of the chocolate chips and the butter in a 2-quart saucepan over low heat; stir until smooth. Remove from the heat and stir in eggs. Stir in flour, sugar, vanilla extract, and baking soda. Stir in remaining cup of chocolate chips.

For the peanut butter filling, stir together the butter, confectioners' sugar, peanut butter, salt and vanilla in a bowl until smooth.

Pour one-third of the brownie batter into the prepared pan; spread evenly with a spatula. Drop dollops of peanut butter filling on top of the batter, spacing about 2-inch apart. Pour remaining batter on top, and gently spread to fill the pan. Drop dollops of remaining peanut butter mixture on top. Gently swirl peanut butter filling into batter with a butter knife, running the knife lengthwise and crosswise through the layers.


Bake until a cake tester inserted into brownies comes out with a few crumbs, about 25 - 30 minutes. Let cool slightly in pan, about 15 minutes. Lift out; let cool completely on a wire rack before cutting into squares. Brownies can be stored in an airtight container at room temperature up to 3 days.


These are seriously good. They're moist, dense, and very flavorful. The extra cup of chocolate chips adds a nice, slight crunchy texture too. I love how incredibly easy these brownies are as well. If you're looking to change it up from your typical brownie recipe, I'd suggest trying these! Perhaps with a tall glass of cold milk?! :)

Monday, May 2, 2011

Black Bean Brownies


I know what you're thinking. Black bean brownies?! Yes, you read that correctly. :) I've heard about recipes for black bean brownies and have always been curious...and as you can gather by this post, I recently got around to making them!

The texture of these brownies is a bit different than your usual brownie. They were less cake-like and more dense, even fudge-like in some bites. And I bet you're wondering whether you can taste the black beans. Nope! Not to worry; these brownies taste only like our beloved chocolate, not beans. ;-)

Ingredients:

-1 can (15.5 oz) black beans, rinsed and drained
-3 eggs
-3 Tbsp. vegetable oil
-1/4 cup unsweetened cocoa powder
-pinch of salt
-1 tsp. vanilla extract
-3/4 cup white sugar
-1/2 tsp. baking powder (optional, but I added it after reading reviews that some people added it to make the brownies rise more since they're quite dense)
-1 tsp. instant coffee (optional, but I added it)
-1/2 cup milk chocolate chips (also optional, but I added them)


Instructions:

Preheat oven to 350 degrees. Grease an 8 x 8 pan. Combine the black beans, eggs, oil, cocoa powder, salt, vanilla extract, sugar, baking powder, and instant coffee in a blender. Blend until smooth and pour the batter into your prepared pan. Sprinkle the chocolate chips on top of the batter, and bake for about 30 minutes, or until the edges start to pull away from the side of the pan. Let cool completely before cutting into brownies.


How cool is it that everything goes in a blender?!


So although the instructions say to sprinkle the chocolate chips on top of the batter before baking, I decided to go against the directions, and instead, I mixed chocolate chips right into the batter (I mixed them in with a spatula though - I didn't blend in the chips!!). I should have thought about this more ahead of time but I didn't... This brownie batter is much more liquid-y than your typical brownie batter, allowing the chocolate chips to sink to the bottom of the pan. So as you can see in the above pic here, the chocolate chips almost formed a bottom "layer" there; they were not evenly distributed throughout the brownies. I ended up really liking this though and thought that my unintentional creation of two layers in these brownies was kinda fun. :) However, if you aren't looking for that effect, I'd recommend just sprinkling your chocolate chips on top of the batter before baking, as the instructions tell you to do!


Delicious! I really enjoyed experimenting with this new recipe. As a result of these brownies being made without flour, they are gluten-free. :) And with the added black beans, they pack a good punch of additional protein and fiber too! Gotta love that.

Monday, February 14, 2011

Best Brownies!


Happy Valentine's Day to all you blog readers out there!! Hope you're all enjoying the day and able to spend it with family and friends whom you love! :) I promise that I won't chat too long during this post. I'll get right to the point!

And the point is? To share a delicious homemade brownie recipe with you! Over the last few years, the recipe I'm about to share with you has become my go-to "from scratch" brownie recipe...and by from scratch, I simply mean not from a boxed brownie mix! This recipe uses ingredients that I always have on hand, so I can whip up a batch of these brownies on a moment's notice. And that's very important, wouldn't you agree?!

The recipe can be found here, on Nestle Toll House's Very Best Baking site, a wonderful site with many delicious recipes! These "Easy Double Chocolate Chip Brownies," as Nestle calls them, couldn't be simpler. The recipe calls for semi-sweet chocolate chips, butter or margarine, eggs, flour, sugar, vanilla extract, and baking soda. That is all!! The recipe gets 5 stars on the Nestle website too. There is a reason, folks! These are some darn good brownies. I love this recipe so much that I've used it for other items I've made like my Peppermint Candy Cane Brownies, Grasshopper Brownies, and Creme de Menthe Bars. This is a basic brownie recipe you'll want to keep, I promise.

Now, onto the steps involved and some pictures too!

First of all, you melt the chocolate chips and butter (or margarine) on the stove...


Once that's fully melted, it comes off the heat and you add the remaining ingredients, beginning with the eggs.


Finally, once that mixture is well-incorporated, you add in some more chocolate chips as well as nuts (if you'd like). I've never actually added nuts to this recipe; although some people might call me a nut ;-), I'm not a huge fan of nuts in brownies. The recipe calls for adding in an additional cup of chocolate chips and 1/2 cup of nuts. What I love about this recipe is that at this stage, you can be creative with your add-ins! If you want to keep the recipe more traditional, you can add regular semi-sweet chocolate chips. Orrrrr, you can add just about anything else you'd like! You can add baking chips of different flavors like peanut butter, butterscotch, white chocolate, milk or dark chocolate, Andes mint chips, etc. You could add toffee bits or chopped candy bars (Snickers or Kit Kats or whatever!). The possibilities are endless...really they are. ;-)

For this particular time I made these brownies, I was actually in the mood to add white chocolate for a change! I added about 3/4 cup of white chocolate chips and 3/4 cup of semi-sweet chocolate chips. 


The mixture is then evenly poured into a greased 13 x 9 pan and popped into the oven.


Voila! You've got yourself a delicious pan of homemade brownies. ;-)


Now, since it's Valentine's Day, I decided not to cut your traditional, square-shaped brownies. So what did I do instead? I made heart-shaped brownies using a cookie cutter! So fun and so easy. It's a great way to make your dessert a tad more festive!


Note: I removed the brownies from the pan (they came out really easily!) before cutting them with the cookie cutter. I lucked out when I flipped the 13 x 9 pan because the whole pan of brownies came out without breaking at all! If I had been thinking better ahead of time though, I think I would have lined the pan with foil before pouring in the batter so that I could have easily just lifted the brownies out. Oh well - next time! By the way, using a non-square cookie cutter like this made for brownie "scraps" since the heart shape obviously wasn't even! The scraps are yummy when you need just a small taste of chocolate...and I'm thinking they'd also be yummy on top of a bowl of ice cream. Definitely not throwing those guys out!


Isn't that a fun heart plate? My mom recently gave me a number of festive plates for various holidays so that I can have fun plates for your viewing pleasure on the blog. :) Thanks, Mom!!


I made one big brownie that Mike and I will share for Valentine's dessert tonight!


After the brownie "photo shoot," I decided to use the plate as a candy dish. :)

Enjoy the rest of the holiday, friends!

 ♥ With love from the Barbershop ♥
Colleen 

Tuesday, September 28, 2010

Créme de Menthe Bars


Hi Barbershop fans! I've been quite busy with many wonderful events with family and friends lately, so I've been slacking with the blog...my apologies! And speaking of wonderful events, I made these creme de menthe bars for my boyfriend Mike's parents' 40th wedding anniversary party a week or so ago. They were a hit! I wanted to make something a little more special than a typical brownie for the occasion, and I thought the combination of chocolate and mint in these bars would be just right for the event. :)

I love the look of these bars! Fortunately, it doesn't really take much effort to make them look so pretty. ;-) The creme de menthe liqueur is really the key to making them look good. The liqueur does "all the work" by making the middle layer a very pretty green color.


Now, onto the recipe...

The bottom brownie layer recipe can be found here. And just so you know, this basic brownie recipe is my favorite from scratch brownie recipe...just sayin'...it makes some tasty brownies!


When I made the brownies I also added some chopped thin mints for an extra mint taste. Mmmmmm. LOVE chocolate and mint!


After you've baked the brownies, let them cool as you work on the middle layer...the pretty green layer!
Here is the mint layer recipe:

-2 cups powdered sugar, sifted
-4 Tbsp. butter, softened
-1 Tbsp. milk
-5 Tbsp. creme de menthe (approximately)

-Combine all the ingredients and beat with an electric mixer until light and fluffy. You may want to taste as you go and add more creme de menthe, if needed... It's important for quality control to taste test along the way, you know. :)


Make sure that the brownies are cooled completely before spreading the mint layer on top of them. Once the mint layer is evenly spread, I'd recommend putting the pan in the fridge to let it cool even more while you prepare the final layer. For the final layer, microwave about 1 cup of semi-sweet chocolate chips (or dark chocolate, if you prefer) and 6 Tbsp. real butter at 30-second intervals until the mixture is smooth and the chips are completely melted. Set the mixture aside for a few minutes to let it cool before spreading it. When you're ready to go ahead and spread the chocolate layer though, move quickly. Put the bars back in the fridge to completely cool one more time and then voila, you're done!


Well, you're done if you want to be... You could also do one more step and add some Andes mints to the top of the bars to make them look even more festive. I cut each Andes mint into quarters, as you can see below, and placed one on each bar. Unfortunately, I didn't think about doing this until the top chocolate layer of the brownies was completely cool...so I had to "force" the mints to stay on each bar. But it still worked! Next time I think I'd put the Andes mints on top before the chocolate cools and hardens.


These were a big hit at Mike's parents' anniversary party! I also brought some into my coworkers, who gobbled them down as well. Deeelish. I WILL make these again, you can be sure of that! You should try them too!


Talk to you again soon. I have a few fall-themed recipes for you!!!!!! LOVE the fall.