Showing posts with label pie. Show all posts

Tuesday, March 22, 2011

Black Bottom Banana Cream Pie


Back so soon?! YES! I am posting just one day after my last post...and that typically means a couple things. 1) I actually have some free time for blogging this week and 2) I am super excited about the recipe I'm about to share with you!!

Last year for Father's Day, I gave my dad a gift certificate for a homemade banana cream pie, which is his faaaaavorite. Well, it's obviously now several months after last year's Father's Day, but I finally got around to making that pie! And I'm so glad I did because it was a huge hit! My parents and aunt were in town visiting my brother and me this past weekend, so I served this for dessert on Saturday evening after we enjoyed a delicious home cooked crock pot corned beef and cabbage meal. :)


Pie time!

I followed a recipe in one of my favorite Cooking Light cookbooks. The original recipe calls for a traditional pastry crust; however, I did not have the time to put into making a pastry crust, so I decided on making a graham cracker crust! Super easy. Here are the ingredients for that:

-1 and 1/2 cups graham cracker crumbs (approx. 24 cracker squares)
-1/4 cup sugar
-1/3 melted butter

Combine the crumbs and sugar in a mixing bowl, and add the melted butter until everything is well-blended. Press the mixture onto the bottom and up the sides of an ungreased 9-inch pie plate. Bake at 375 degrees for 8 to 10 minutes or until the crust is lightly browned. Cool completely before filling.


Pie crust done!

Now, onto the actual pie. Although I used a cookbook, lucky for me (to save me some typing ;-)), the recipe I used is also online. You can find it here! As you can see, it receives a 5-star, "outstanding" rating. I would completely agree!!

To start, you make the "black bottom," which is a chocolate pudding.


Black bottom done!

Next, onto the custard filling. This is no instant pudding mix, folks! This is the real thing. I have never made a custard from scratch before, and I have to say, it really wasn't that bad! I read through the instructions carefully (and several times!) before beginning. If you've never made homemade pudding before either, I'd recommend you do the same. It's really not difficult, but the steps do need to be followed carefully!


Somewhere around the time when the custard was thickening, I panicked. It had a lot of lumps in it, and I was afraid it wasn't going to smooth out. If this happens to you, have no fear! The lumps magically go away, I promise. I didn't have to do anything special other than continue to follow the directions as they were.


Mmmm, vanilla extract.


A small amount of cream cheese is added to a portion of the pudding...


And then the two are fully combined to make the actual vanilla pudding layer.


Before adding the vanilla pudding layer, first come the bananas! Yay for potassium! ;-)


Although the recipe didn't call for a second layer of bananas, I added a second layer. I couldn't resist.


Finally, atop the pudding and second banana layer, I added some light cool whip.


Chocolate shavings!


The graham cracker crust stayed together for the most part, but as you can see, there were a few crumbs that didn't make it. Not to worry...those didn't go to waste. It's possible they disappeared into my tummy...


YUM. Seriously. What a dessert. You're going to love it.


Tuesday, September 7, 2010

A Tribute to a Tradition: Homemade Pie!!


I have a confession to make. I have never made a homemade pie. Well, that is, until this past weekend, I had never made a homemade pie. Can you believe it??! Many people who know I love to bake find it pretty hard to believe when I tell them (or used to tell them!) I have never made a pie. I figured it was about time to put an end to that! And especially when I have a wonderful mother and grandmother who are amazing pie makers, it's about time I stepped up to the plate too!

You're in for a treat with this post... I'm going to share not one, but two pie crust recipes that my grandmother uses. Consider yourself pretty lucky! ;-)

The first crust recipe is the one I used for the very first pie I made this past Labor Day weekend (pictured above). It is taken verbatim from an email my grandmother sent me with the recipe. :)

-2 cups flour
-1 tsp. salt
-2/3 cups Crisco plus 1 T.
-1/2 cup cold water

Mix together flour and salt. Add Crisco. Mix with fork until crumbly. Add water and mix until it holds together. Chill for 15 minutes or more.

Mom's tip: Mixture will be just right when the dough forms into a ball and clears the bowl.

My hint: I put ice cubes in water and then measure l/2 cup water from that. More water may be added but too much water will make a tough crust.

Please note that this recipe is for one 9-inch crust. So you'll have to double the recipe for a double crust!

And here is recipe #2 from my grandmother, again taken verbatim from her email. :)

-4 cups flour
-1 and l/2 cups Crisco
-l Tbsp. sugar
-l Tbsp. vinegar
-l egg
-2 tsp. salt
-l/2 cup cold water

With fork mix together first four ingredients. In separate dish beat remaining ingredients. Combine the two mixtures until all ingredients are moistened. With hands, mold dough into ball and place in the fridge at least 15 minutes before rolling out. Makes a  9" double crust pie. This is a no-fail pie crust and easier to mold than the first recipe.

There you have a couple "famous" recipes! My grandma's pies are always amazing, so if you try one of these two recipes, I am sure you will be pleased!

Now, my all time favorite pie is, by far, strawberry rhubarb. Mmmmm, SO delicious. I was lucky enough to receive one of my favorite pies from my grandmother for my birthday this summer too! Below are a few pictures of it. I wish these pictures could magically turn into the real thing!! Honestly, this pie is just the best pie ever (especially when made by my mom or grandma!).


I asked my grandma about her strawberry rhubarb recipe, and she says she just follows the recipe on the Tapioca box! Who knew?! I certainly didn't. I bought some Tapioca this past weekend with the intention of making a strawberry rhubarb pie as my first ever pie. However, the store didn't have any rhubarb :-( so I had to improvise. I had some frozen blueberries (hand picked fresh by my mom earlier this summer!), so I decided to use those in my pie. I only had three cups of them though, so I supplemented with one cup of strawberries (four cups of fruit total is what's recommended on the back of the Tapioca box). In fact, I took a picture of the back of the box so you can see what ingredients and proportions are recommended for apple pie, blueberry pie, and strawberry rhubarb. Basically, I am feeling too lazy to write it out for you, so the picture of the recipes on the box is what you get! :)


As I mentioned earlier, for my "berry" pie, I used three cups of blueberries and one cup of strawberries. I added about 3/4 cup of sugar, I'd say, 1/4 cup tapioca, one teaspoon or so of lemon zest, as well as a couple teaspoons of lemon juice. That's it! Oh, and I also put a few very small dollops of butter atop the fruit mixture before baking. I followed the temperature and time instructions listed on the box.

Here are a few more pictures of the Barbershop's inaugural pie during its creation. :) I used the first crust recipe listed above, by the way!


There she is, the finished product!

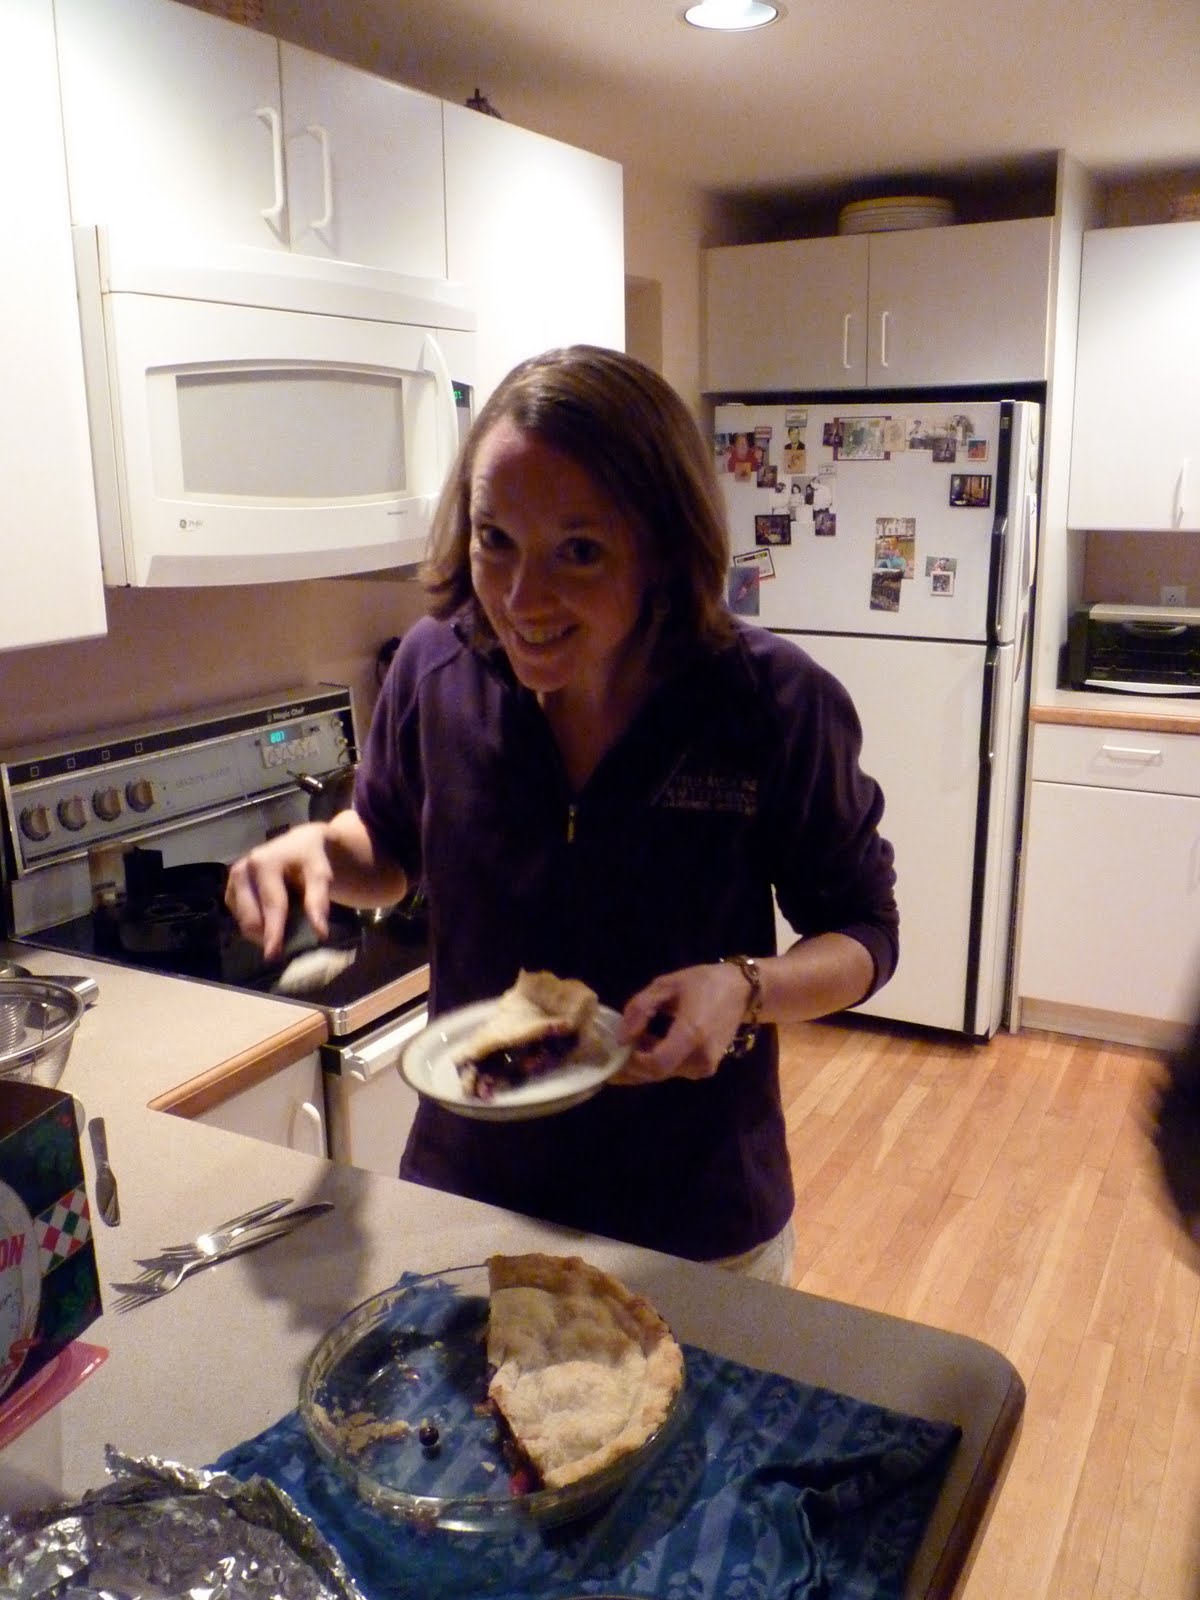
And here I am serving it (not sure about that weird look on my face or why I'm hunched over like that!).

Mike's family were my guinea pigs, as I shared the berry pie with them when we visited them this past weekend for dinner. Unless they were just humoring me (which I don't think they were ;-)), they really liked it! I am definitely encouraged by my first pie making experience and plan to make many more! It wasn't really difficult at all. It was a bit more time consuming than other types of baked goods I often make, but I didn't find it too challenging (for some reason I think there's a myth about pies being hard to make??!).

Also, one more fun tip for you...  Whenever my mom used to make a pie, she'd make these delicious cinnamon sugar pie dough "strips" with the extra dough. Well, I thought they were cinnamon sugar strips, but apparently they were sprinkled with nutmeg, not cinnamon!  So, you can probably use whichever spice (or both) that you'd like. Anyway, I decided to use the extra dough I had from my berry pie to do this. All I did was roll out the dough, cut it into strips (or whatever shapes you'd like!), brushed them with melted butter, and then sprinkled with a cinnamon sugar mixture. Such a fun treat!

 Here is the raw dough with butter and cinnamon sugar, before popping them into the oven. I actually also just learned that my mom didn't brush them with butter either - another inaccurate memory of mine. Oops! You can make them however you please. ;-)

And here there are, fresh out of the oven and ready to be devoured! This is such a great memory of mine from when I was little. I loved when Mom made these for us!!

Well, that's all from the Barbershop this time. Looking forward to sharing more recipes with you soon!